
|
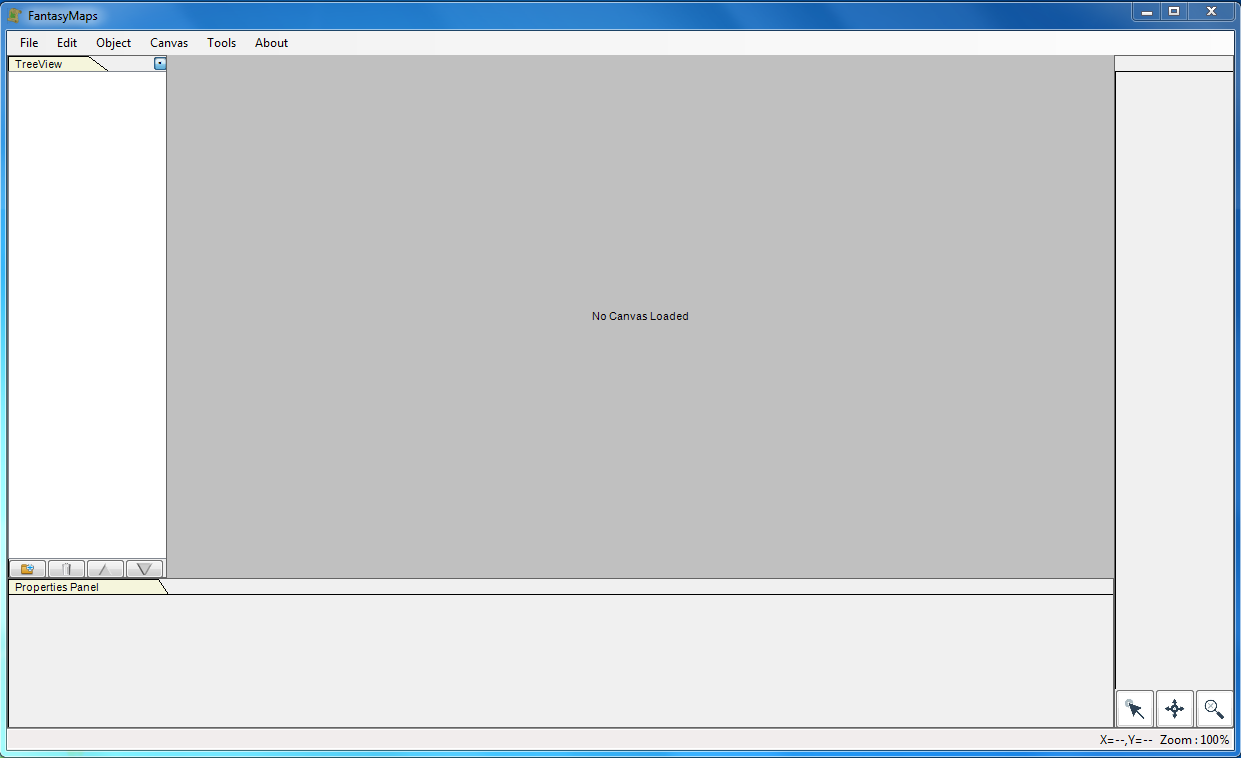
First of all, let's take a look to the FantasyMap main window architecture. On the upper area, we can find the menù bar with the various drop down menu (File, Edit, Object, etc.). On the Left side there is a tree view panel where layers and object will be displayed: we'll se later how does it works. On the right area, there is a tool box panel, where drawing tools will appear depending on the type of painting we will be performing (objects, lights, terrain). Finally, on the bottom area of the window there is a property panel that will show, depending on the selected object, its graphical properties. |
|
|
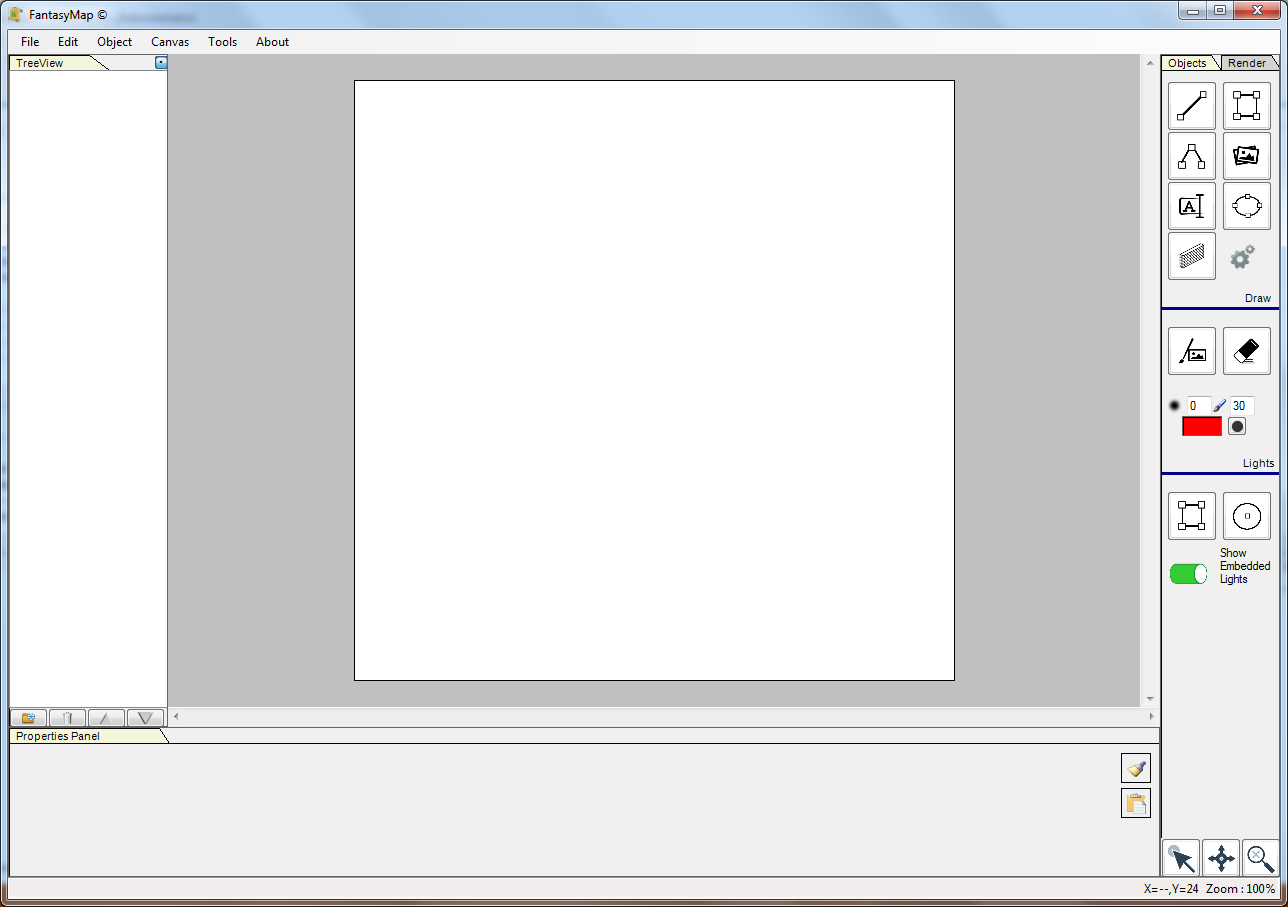
From the File Menù, select the "Create new Map" command. And empty, white square map will appear in the center of the screen. Probably good for a small set of caverns or a night campside, but too small for the dungeon you are planning to design. Before resizing it, take a look to the toolbox panel on the right. The drawing tools just came by: from the top to the bottom, you can see the line, rectangle, polygon, image, text, oval, and wall utility. The Draw section under contains the tool for free hand painting, like brush size and shape, smoothness, color, etc. More down, the lights tools, in order to insert into map a rectangular or circular light source (We’ll see how to use light sources in next tutorials) Now it's time to enlarge a little bit our map: got to the Canvas menù and select "Resize Canvas" command. |
|
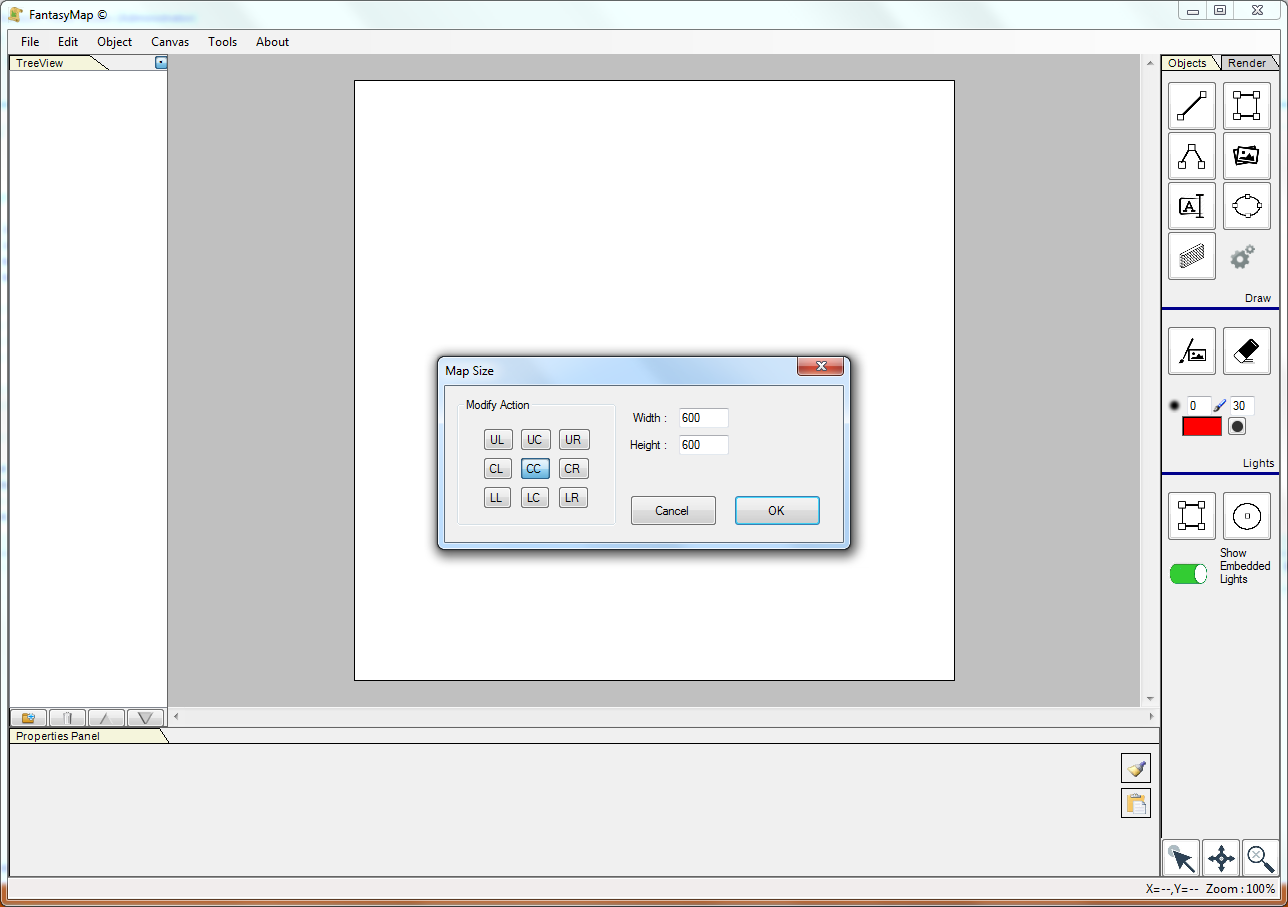
A small popup window will appear. There you can choose, in pixel, the new size of your map. This operation can be done also during the design of the map (maybe you forgot the lord or the goblin hidden cave or a bunch of cellars of your small castle): in this case it is extremely important to specify, with the nine pushbutton on the left side of the popup, the direction of expansion of your map, in order to mantain objects in their correct position. Change the size of the map to 1000x1000 pixels and press ok. |
|
|
Now your map should be bigger then the visible area, so take some time to familiarize with
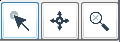
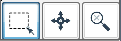
the vertical and horizontal scroll bars and with the pan button located in the center
of the three navigation buttons, in the right bottom corner.
Select the zoom button and try to left click and right click on your map in order to zoom in/out
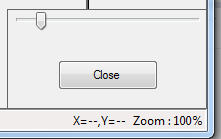
and center visualization of it. At the end, select again the Select mode clicking on the leftmost button of the three. If you Right click on it, you can see it changing from single select mode to rectangular selection mode. Now you cannot test it (because you do not have any object placed on your map) but remember this functionality for later use. Clicking on the zoom value (100%) will open a small popup where you can choose a fized zoom level. Press esc or click with the mouse anywhere in order to close it. |