
|
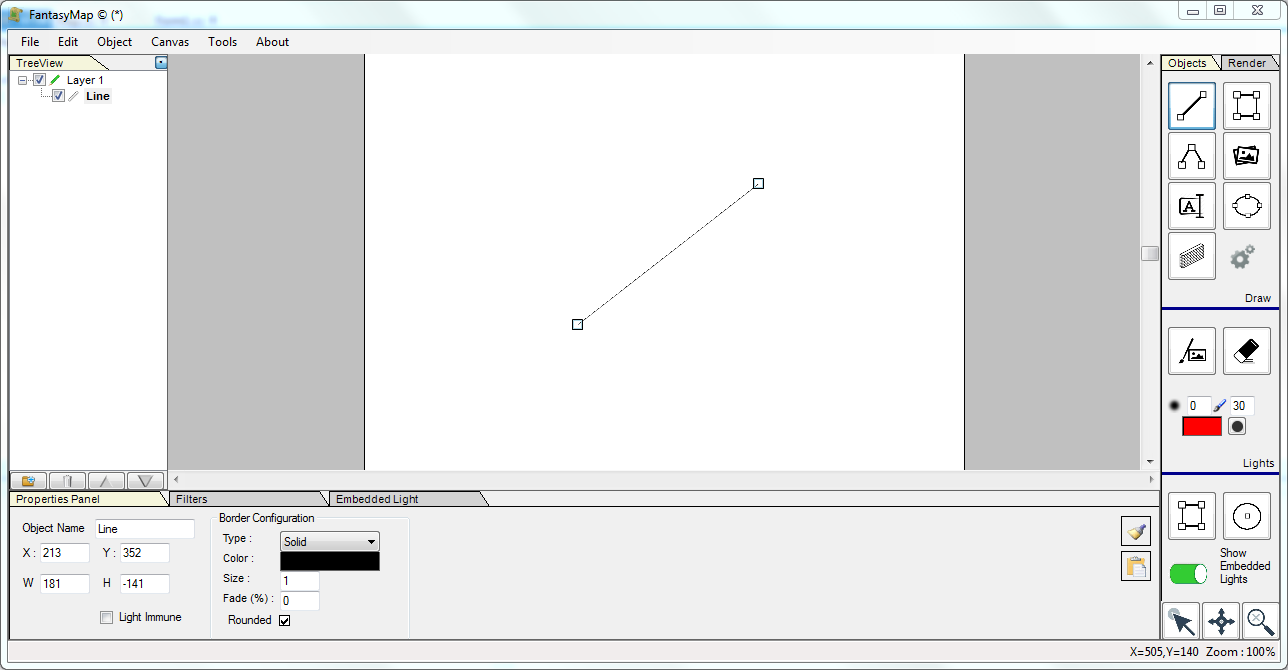
First of all, create a new map as seen on previous tutorials. Choose from the toolbox on the right side of the window, the line tool  Click once on the map to identify the starting point of the line, and click again on another point of it. The new line will appear on the map. Congratulation, you just inserted your first graphical object into a map! As you can see, the object is selected: there are two square at the opposite points and, on the bottom, there are all the information of such object, like coords and draw style. |
|
|
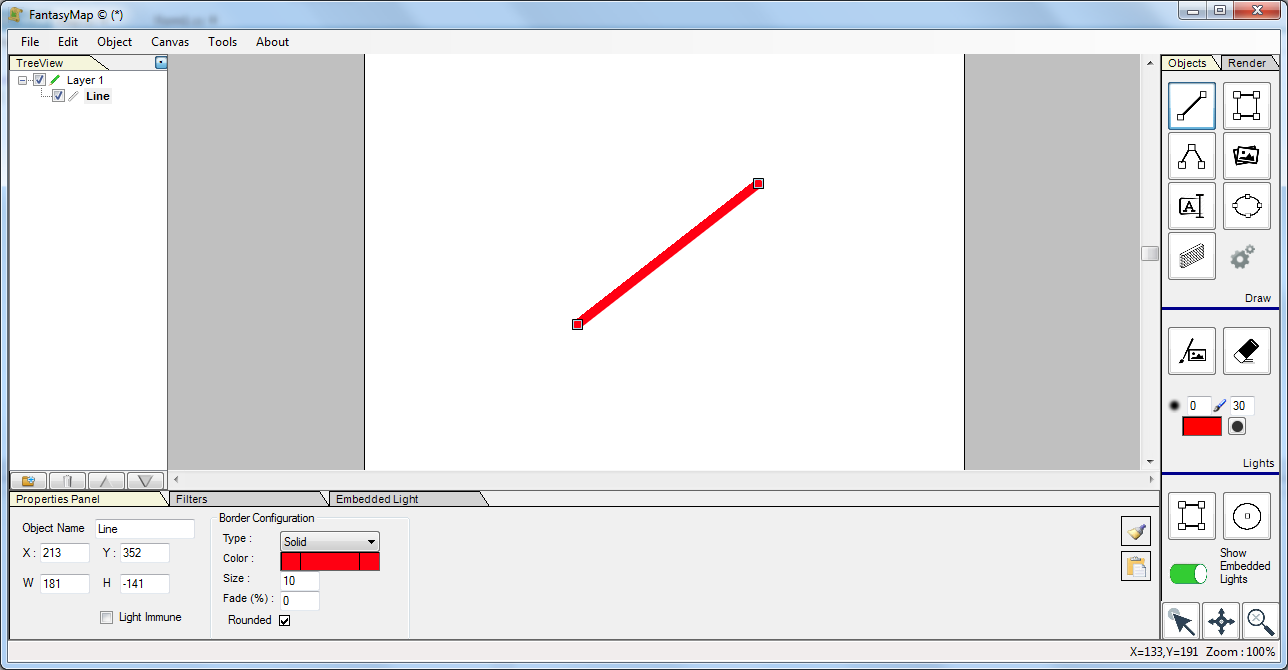
From the property panel on the bottom, increase the line size to 10, change color to a bright red and see in real time the object changing its final aspect. Try also to switch from rounded margins and square margins (now, with a 10px width line, you see the results). Meanwhile, you can observe that on the tree navigation panel on the left a new layer has been automatically created (objects must reside inside layers) and the new line is bold, that means that the object is selected. We'll see later that it is possible, using CTRL key, to select multiple objects in the same layer. The new object has a standard name that is "line". You can change it (if you wish) from the property panel below. |
|
Try now to change the line style to shaded. With this configuration, you can choose two colors
from the bottom color picker clicking on the two square ends (right and left). Right clicking on it
will swap color, while clicking on the center will let you choose the same color for both ends. Grab the line from one point at your choice (starting or ending) and try to move it around. If you want to keep the line shape, grab it using the right button (that will force to move the object instead of changing its aspect). |

|
|
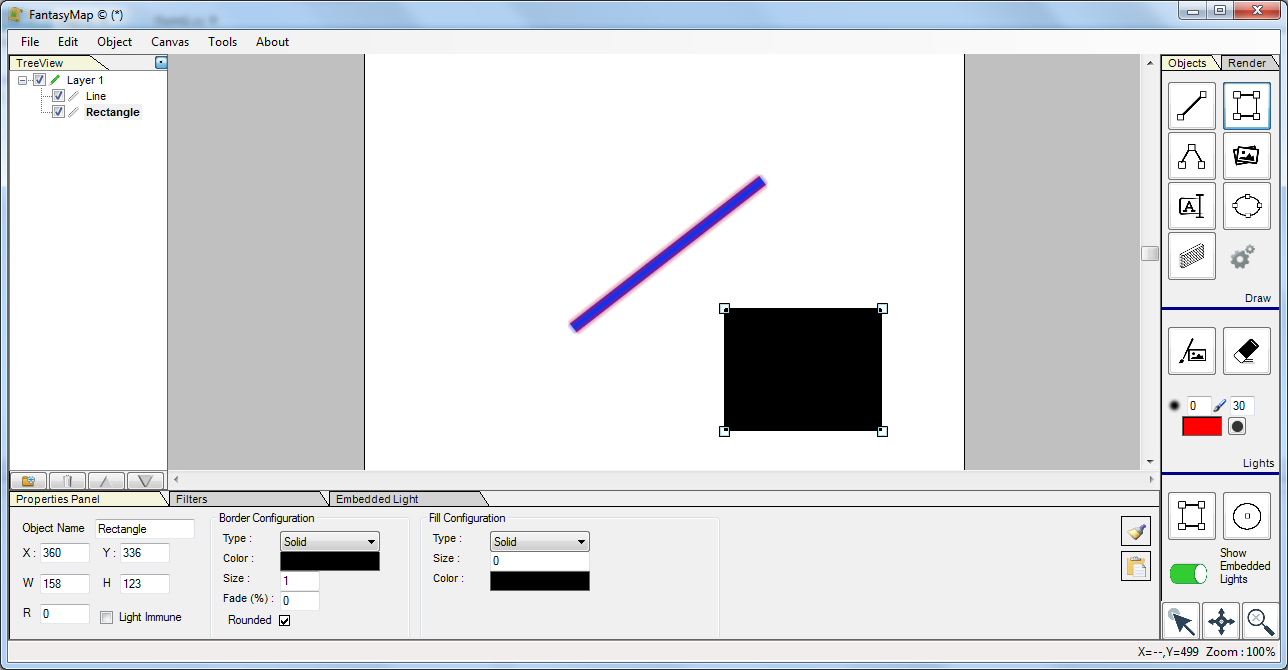
Try now to insert a rectangle. Select the rectangle tool on the toolbox panel on the right. Click on the first corner of the rectangle and then click again on the opposite corner. A black filled rectangle will show up on your map. Now the line will not be selected anymore, while the new rectangle will be. You can see this because the rectangle appeared on the tree navigation panel bold, while the line is not bold anymore. Moreover, the rectangle has four small grab squares on its corners and on the property panel on the bottom a new group of configuration parameters, labeled "Fill Configuration", just appeared. |
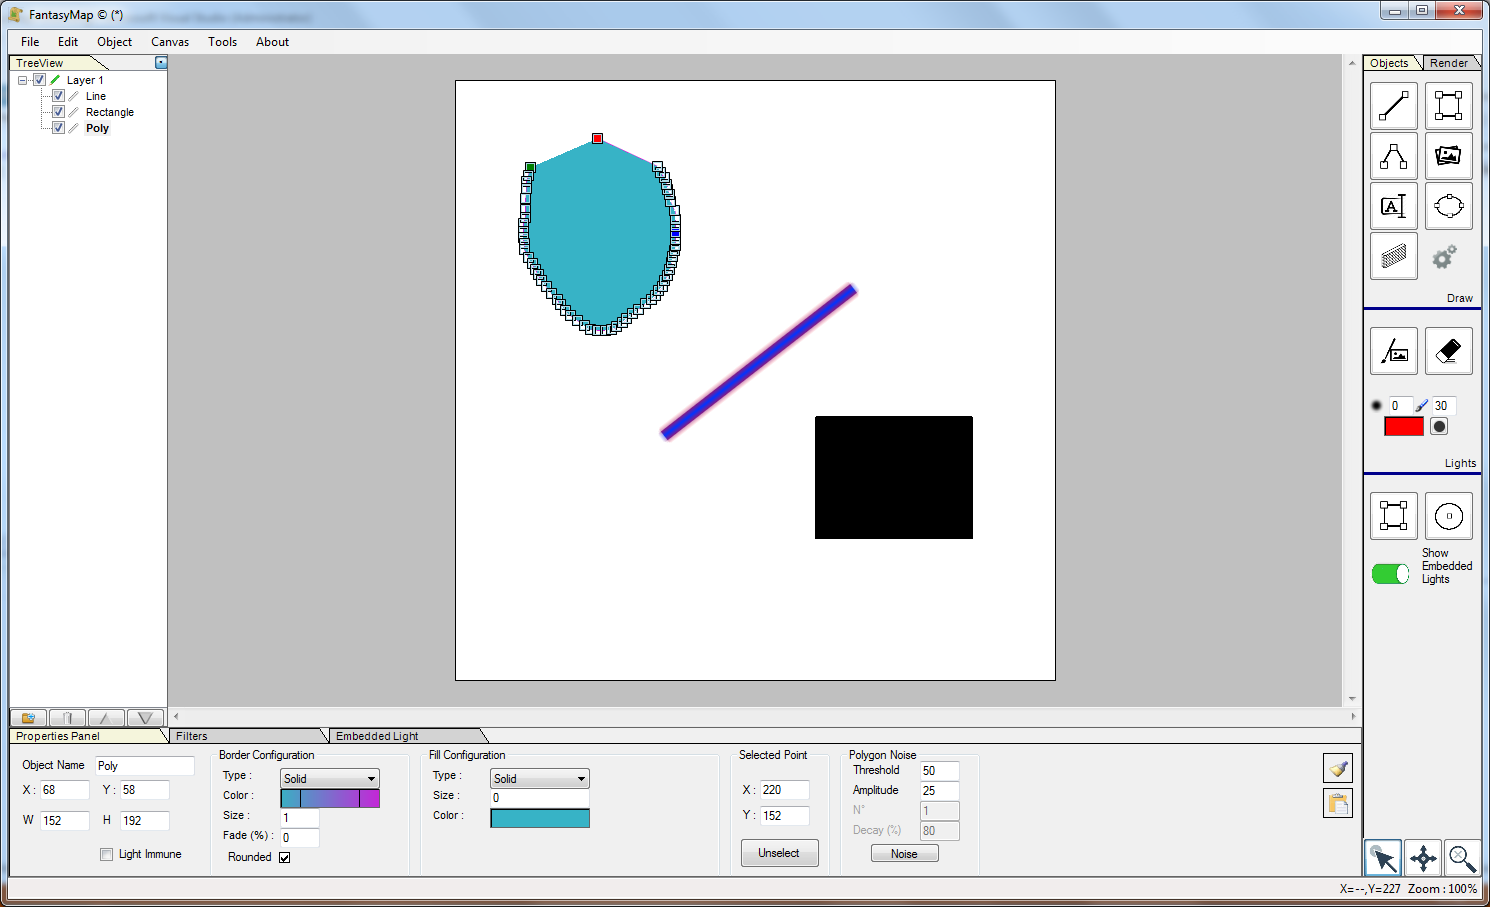
Let's go to the polygons! Select the polygon insert tool from the tool box. Push the left mouse button and keep it pressed, moving the mouse cursor on you map. You see the polygon drawing on it. This is the continuous insertion mode of the polygon, very useful to build irregular walls like caverns. Release the mouse and click again (this time single click, without moving the mouse): you'll experience the single point insertion method for the polygon. Keep CRTL key pressed and click again to insert the last point of the polygon. When a polygon is selected, you'll see every point of it (because you can grab each and move at your will), plus you'll see the first point marked green and the last point marked red. |
|
|
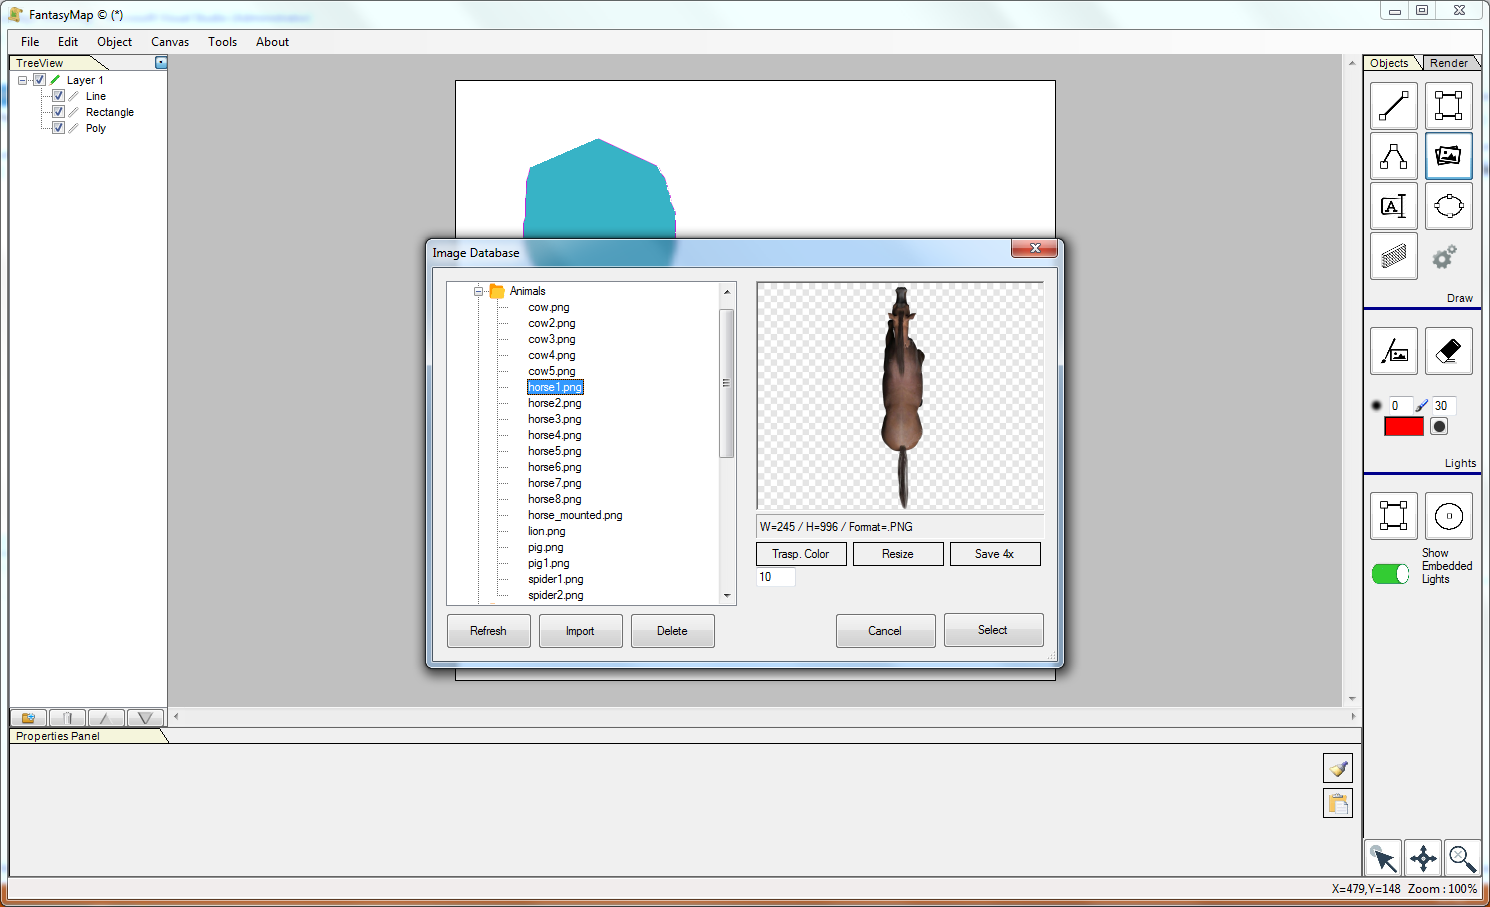
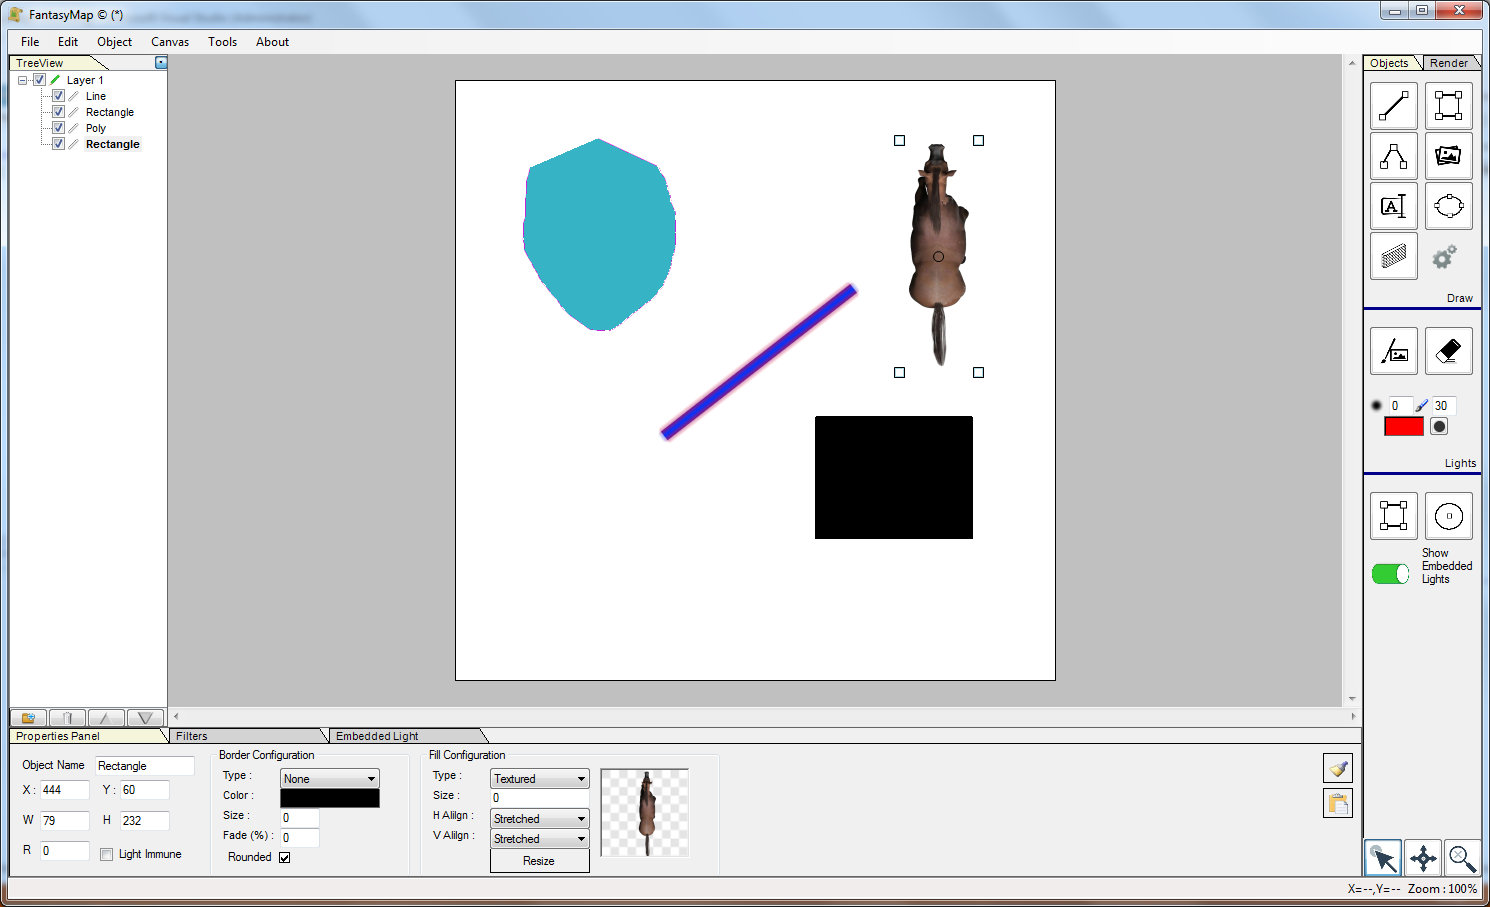
Try now to insert an image from your image database. Select the image tool on the toolbox panel on the right. Click on the map where you want to place the object. The image database form will popup to let you choose the object to insert. In our tutorial, we choosed a horse. |
|
The new object will be inserted, but the software will prepare for a new insertion of the same object. Moving
the mouse around the map you will see the prepared object following you. Click on the ESC button on the keyboard in
order to reset this insertion mode. If the horse is too big, grab one angle and resize the object. Use right mouse button to move it around. |
|
|
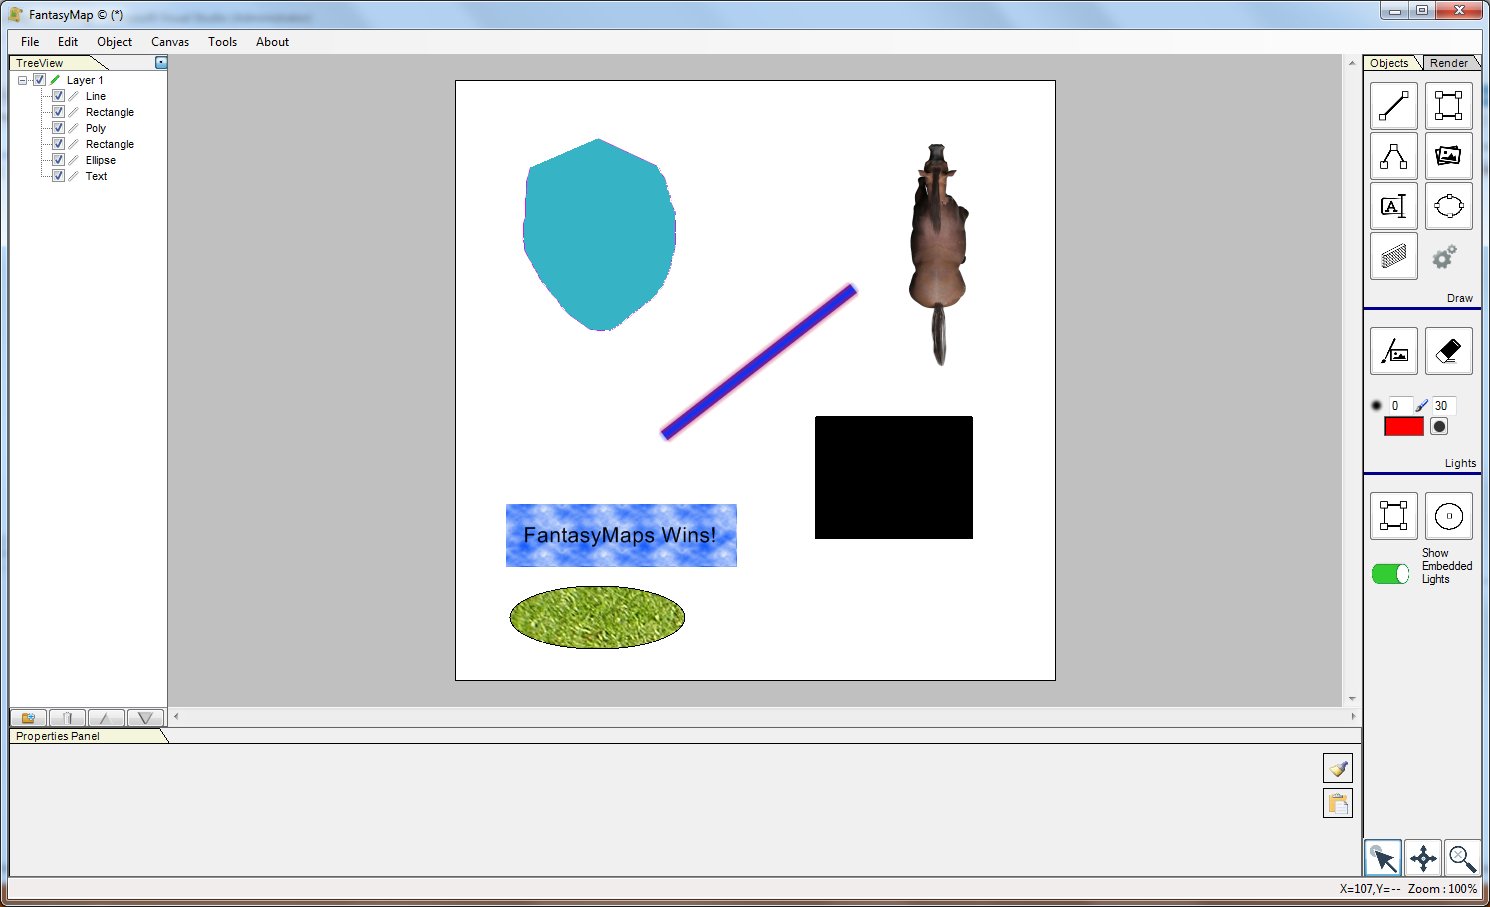
Now try yourself to insert a text and an ellipse on your map.   Play with the drawing configurations of each object and try to resize and move them. |