
|
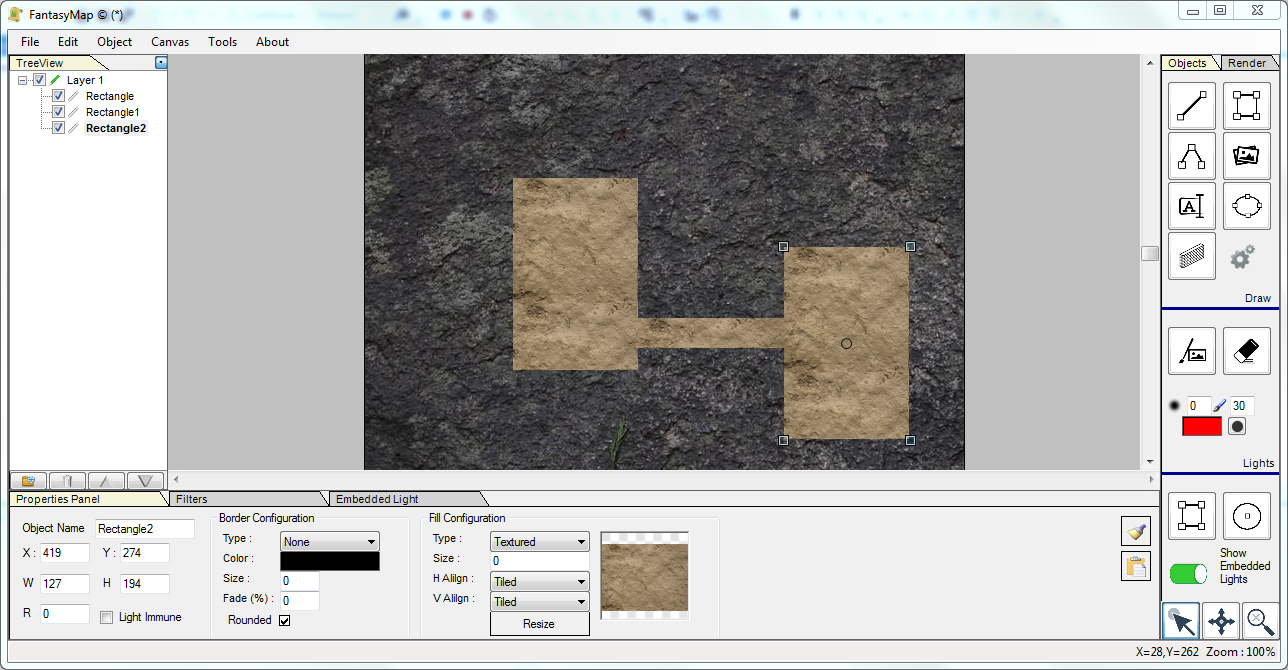
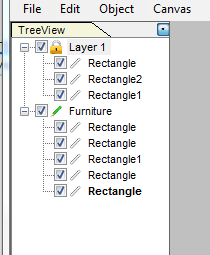
First of all, create a new map as seen on previous tutorials, fill with a rock background and draw a couple of rooms in it, linked with a corridor. Remember you can use the copy/paste drawing attributes buttons in order to replicate fast floor configuration in each graphical object of your dungeon.  On the tree panel on the left you'll see that Fantasymaps created a layer and put inside the rectangles you used to design your dungeon. |
|
|
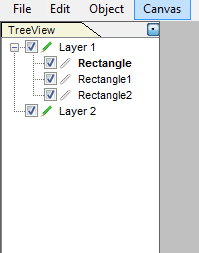
Create a new layer pressing the "New layer" button under the tree navigation panel Select this layer with a doubleclick. You can now change its name into "Furniture" in the property panel at the bottom of the screen. 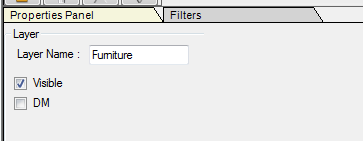
|
|
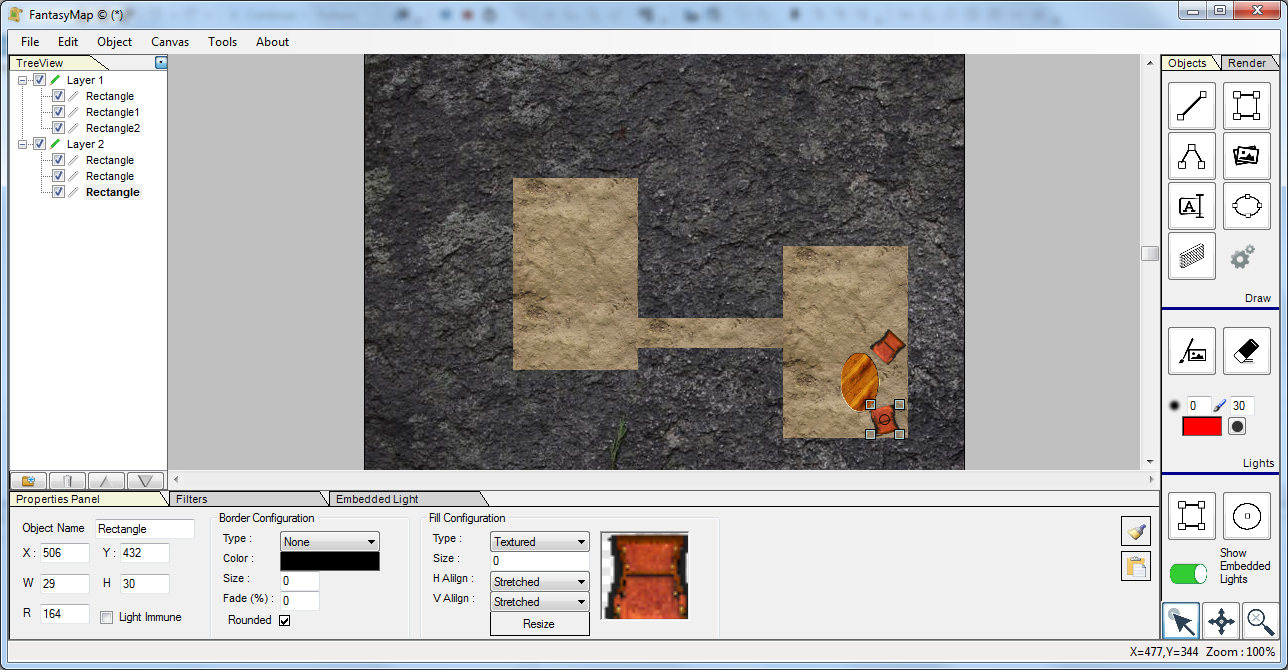
Now Insert into the map a couple of doors, a table and some chairs... You'll notice that those new elements will be added in the second layer just created above. It's very important to separate elements into layer. Try to hide the new layer removing the check on the tree navigation panel or double clicking on it and removing the check on the property panel. You'll see the doors, table and chair disappear from the map. |
|
|
Layers can also be locked: right click on the layer and select the Lock command from the context menù. A locked layer cannot be changed, and the objects contained in it cannot be selected.
This can be very useful because sometime, when you have lot of objects into your map, it can be painful select the correct one
at the first click. In a map like the one proposed in this tutorial, for example, the first layer containing the rooms, once completed,
could be locked. Once locked, you will not be able to select the concrete rectangle rapresenting your rooms. Remember that Layers can be unlocked every time, if needed. |
|
Layers can also be shifted up and down in the tree navigation panel. Remember that objects and layers up in the panel are drawn first, so shifting
our "furniture" layer over the first one will make all item disappear, because they will go "under" the rooms. Layers (like all other objects) can be deleted from the map using the delete button at the end of the tree navigation panel. |
 
|