
DM Layers should include all graphic object with such information: it will be easier, upon exportation, to create the two maps with a couple of clicks.
|
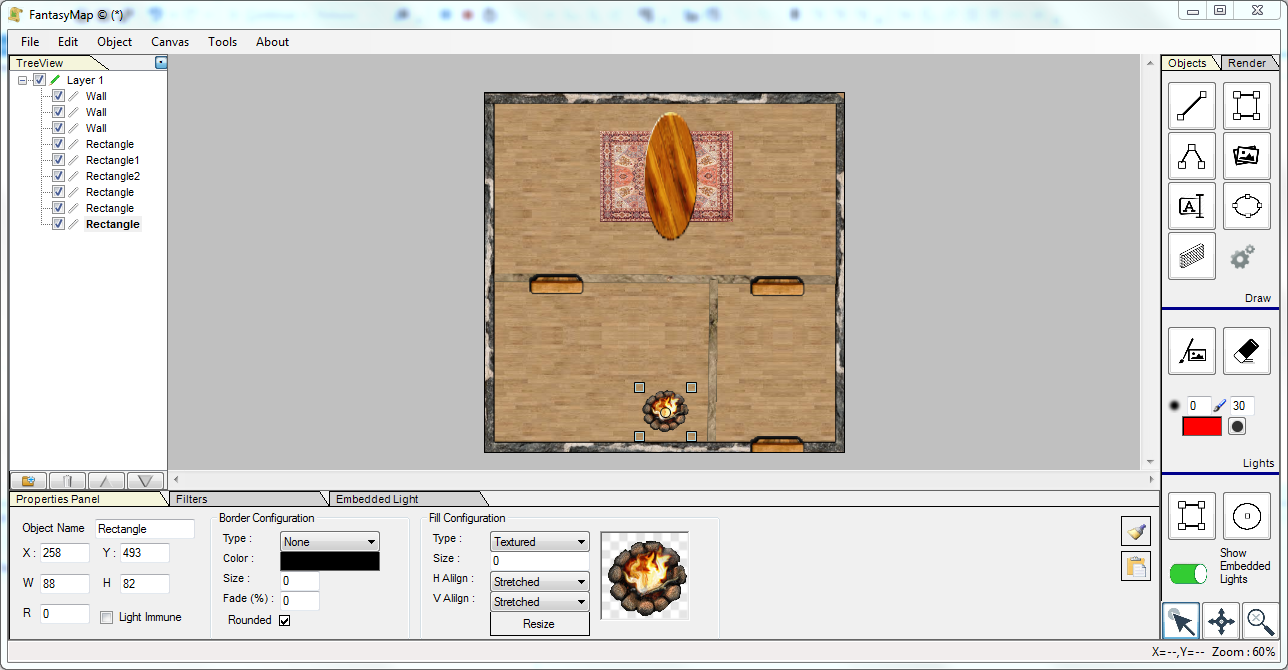
First of all, create a new map as seen on previous tutorials: in our tutorial, we built a small house with three rooms. We put inside a table, a carpet, a fireplace and the doors connecting the rooms. All these object are clearly visible to players. There is no hidden information. We didn't paint here hidden treasure, secret passages, information about monster or invisible threats. |
|
|
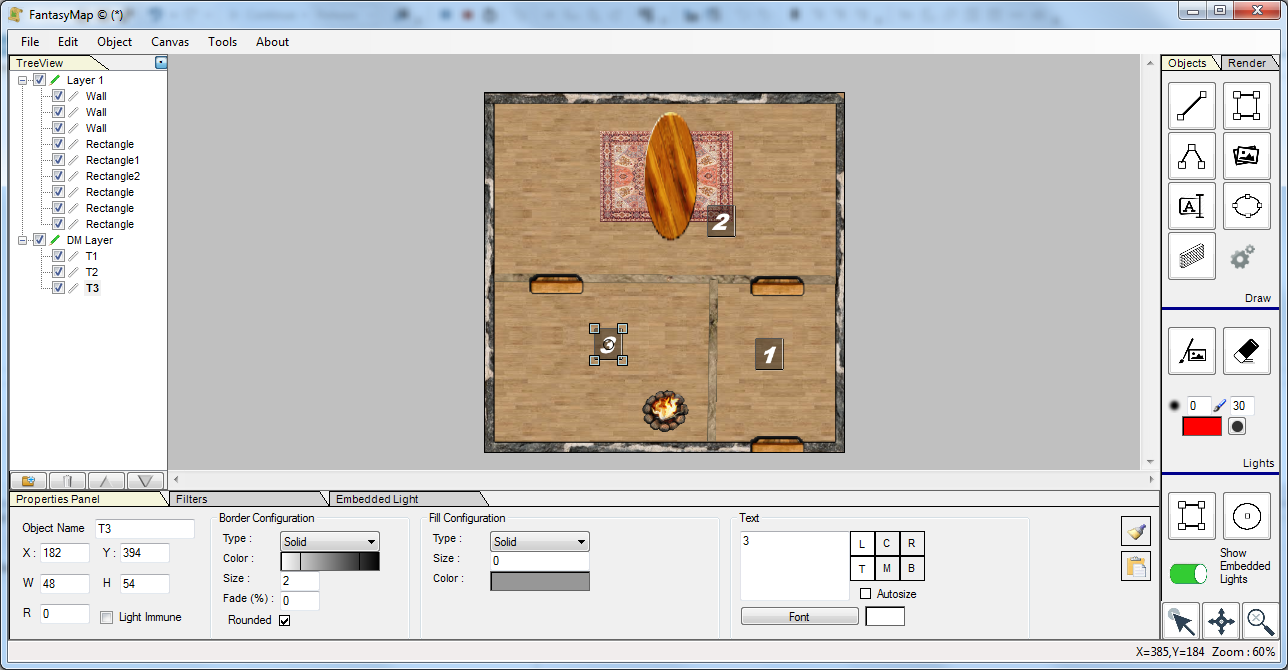
We create a new layer, calling it DM (but you can call it as you prefer) and mark it with the DM Layer check. Inside the DM layer, we insert then (for example) room numbers, for a fast connection with module description. We could also insert here secret passages, or maybe text areas in order to remember quickly what contain each room ("Big Monster" or "Invisible killer"). |
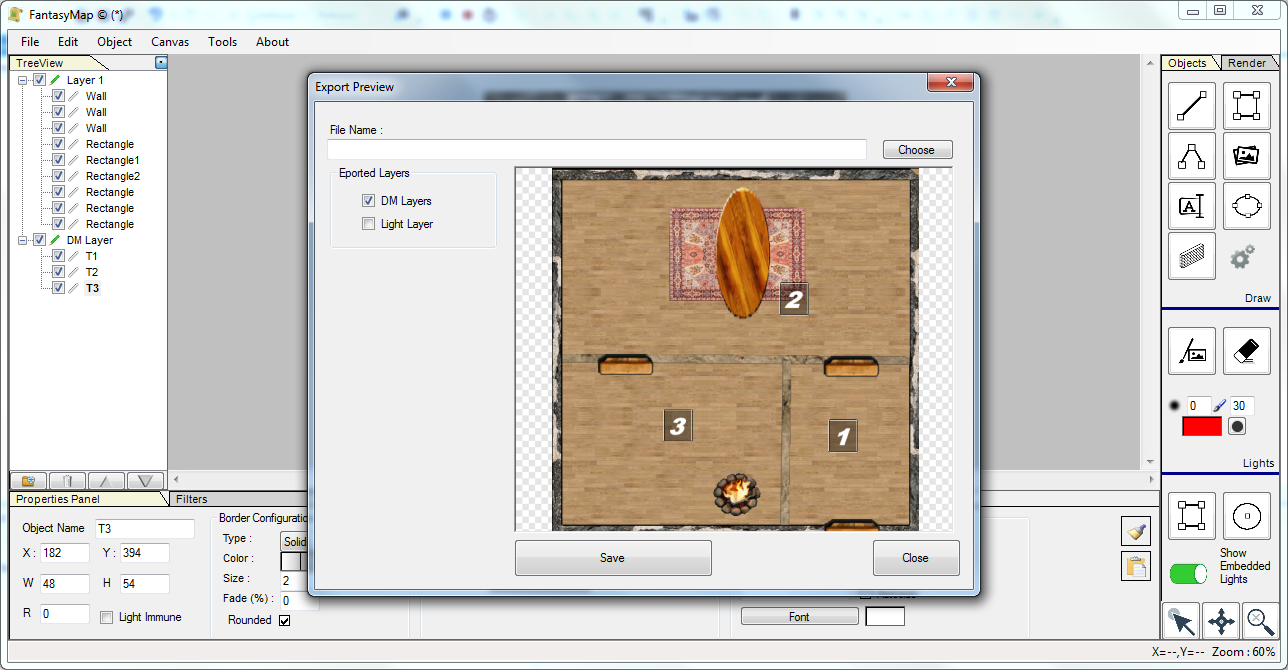
| Once the map is finished, we will export it to a PNG file. Opening the export window (form File menu), we see that we can choose to export (into the final bitmap) the DM layers (there could be more than one) or not. We can then here save two different PNG files, one for player map and one for DM map. |
|