
Remember that lights can be esthetically nice, but during gameplay they can be a little nasty. Moreover, lights effect are quite heavy for PC calculations, so their final rendering is disabled during design phase of the map (you'll se only a pattern of the light color), and you will catch the final effect only going in Render mode
 .
.
You can put them and decide, during final export, to prepare the final image with or without them.
|
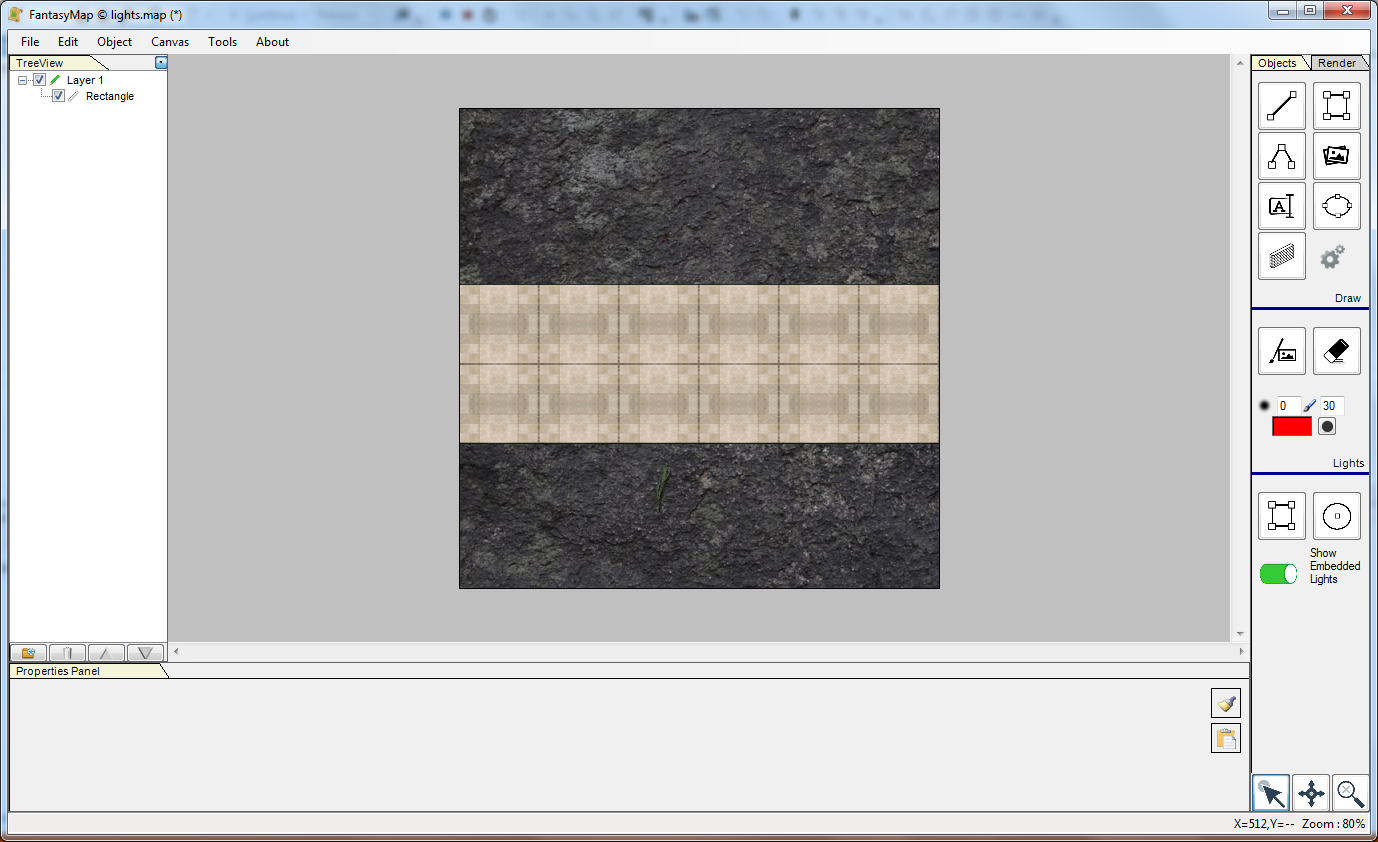
First of all, create a new map as seen on previous tutorials: put a dark stone background and a large corridor in the middle.
We used a square texture for the corridor, tiling it horizontally and adjusting zoom. In order to adjust zoom just right click on the texture in the property panel and select Zoom command. Use mouse wheel to change the value. |
|
|
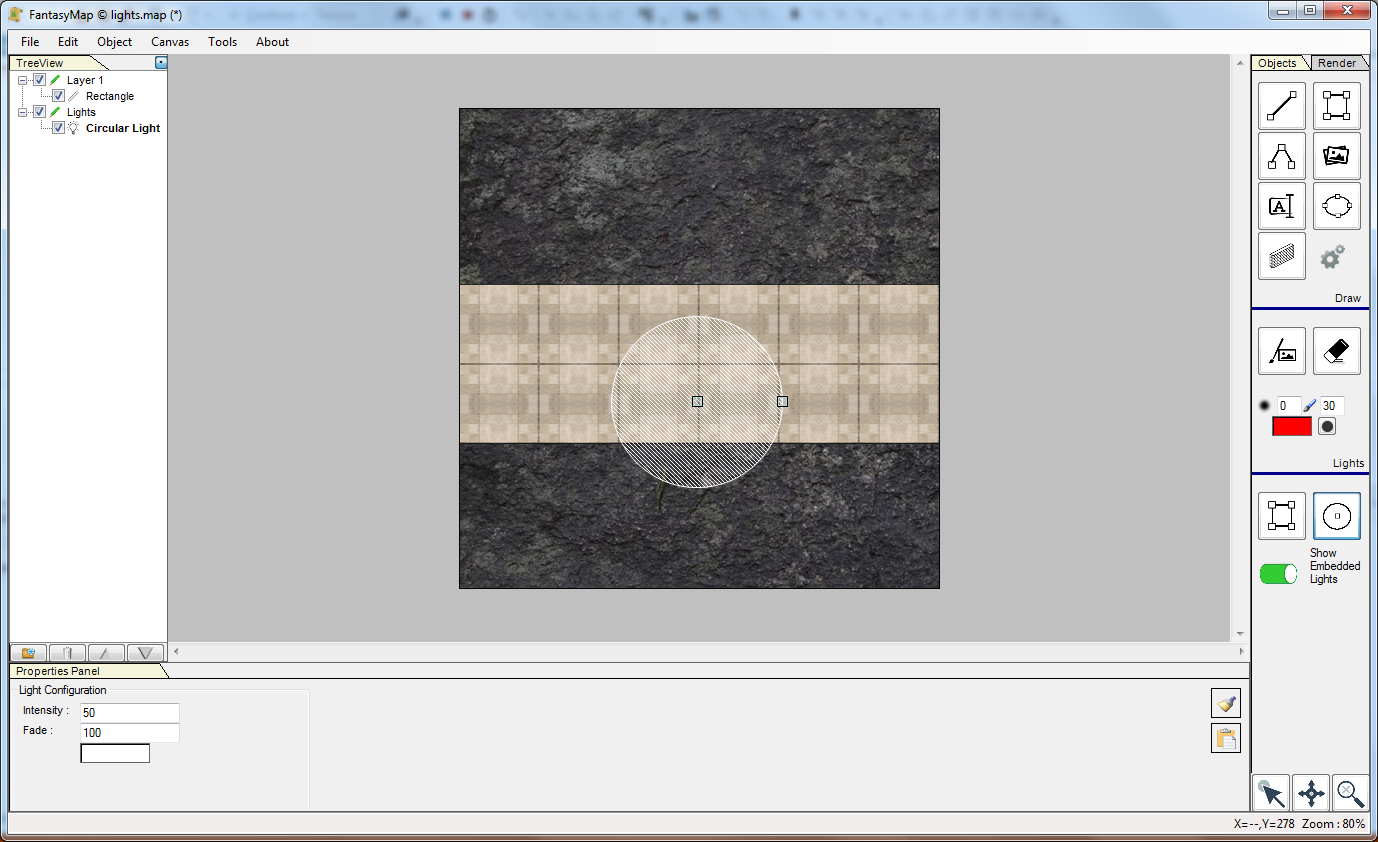
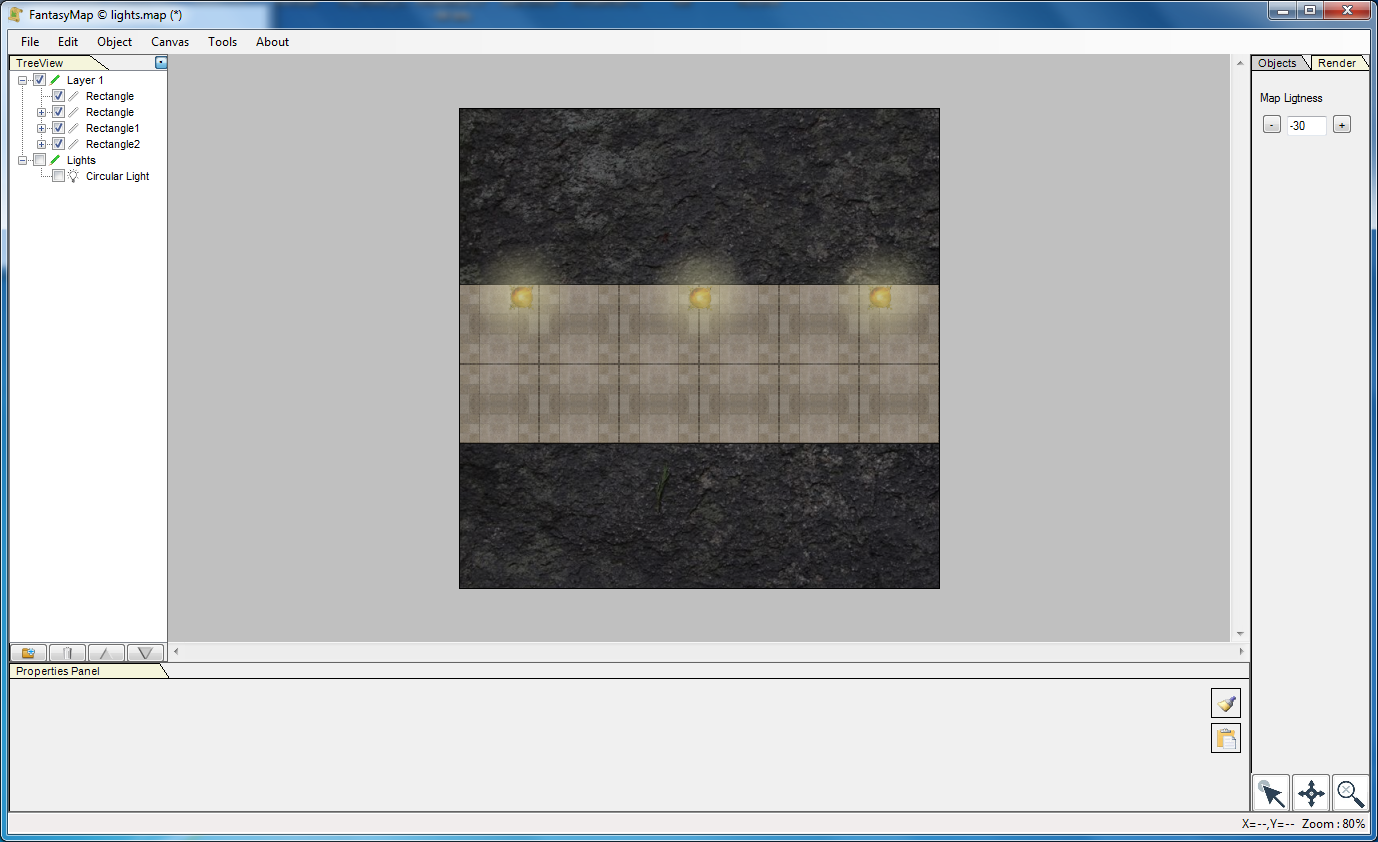
Select, from the lights tools, the circular one. Insert it into the map. In Design phase you'll se a dashed circle rapresenting the area of effect of the light. The light has been added to a special layer called "Lights", which you can see in the tree view on the left of the window. Try to change color, intensity and light fade parameter and check, going on Render phase, the final effect. |
|
Adjust final map brightness in order to give more importance to your lights. Congratulations, you just added your first light into a map! But it doesn't finish here: there is another way, more functional, to insert lights. In the next step you'll learn how to create embedded lights into objects (like torches, bracers or magic orbs). Delete the light and start again with the empty corridor, in design phase. |

|
|
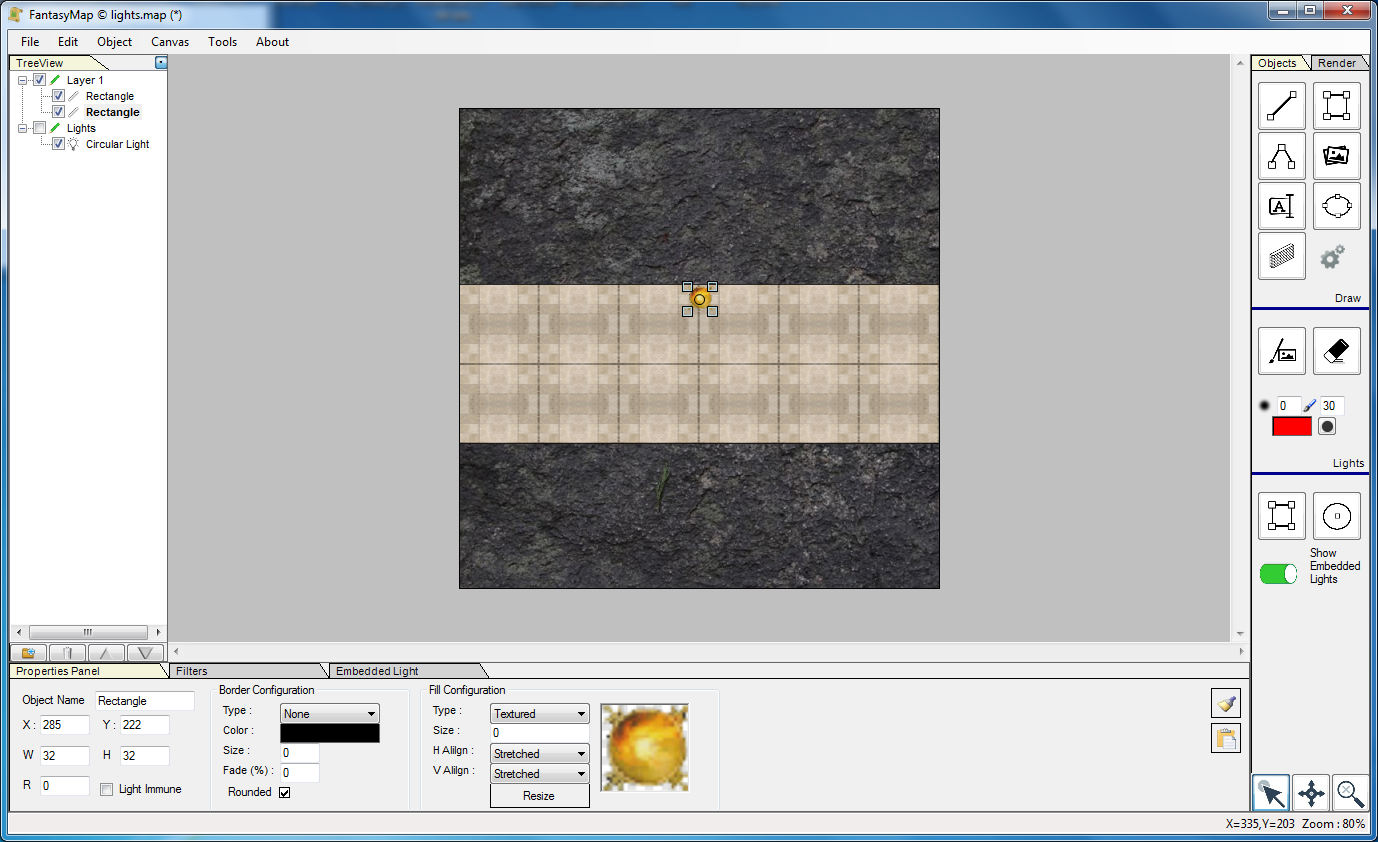
Put one bracer along the upper wall of the corridor. Yes, magical bracer, it does not produce any smoke, bla bla yadda yadda (DM stuff here :-). But you want it to produce light. Switch, on the property panel in the bottom, to the embedded light TAB. 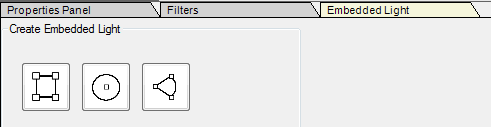 Clich on the circular light button and insert the light over the object.  |
|
As you can see in the tree view on the left, your bracer object has gained a light object into it. Every object can contain maximum ONE embedded lightobject. The menù on the bottom changed, now you can only remove the embedded object. Select from the tree view the embedded lights object. 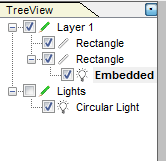 Now you can change lights parameters (the same as standalone lights) and you can change the relative position of the light (along with size and angles) from the bracer. |

|
|
Now copy/paste your bracer, and you'll see that embedded light will be copied too. Go to render phase to check your final work. Objects with embedded lights can be exported so you can built a personal folder with your preferred assets (like bracers, statues light emitting, etc.) already equipped with embedded light. |
|
Let's talk about light immune property. Fantasymaps do not perform a real ray-tracing algorithm for lights,
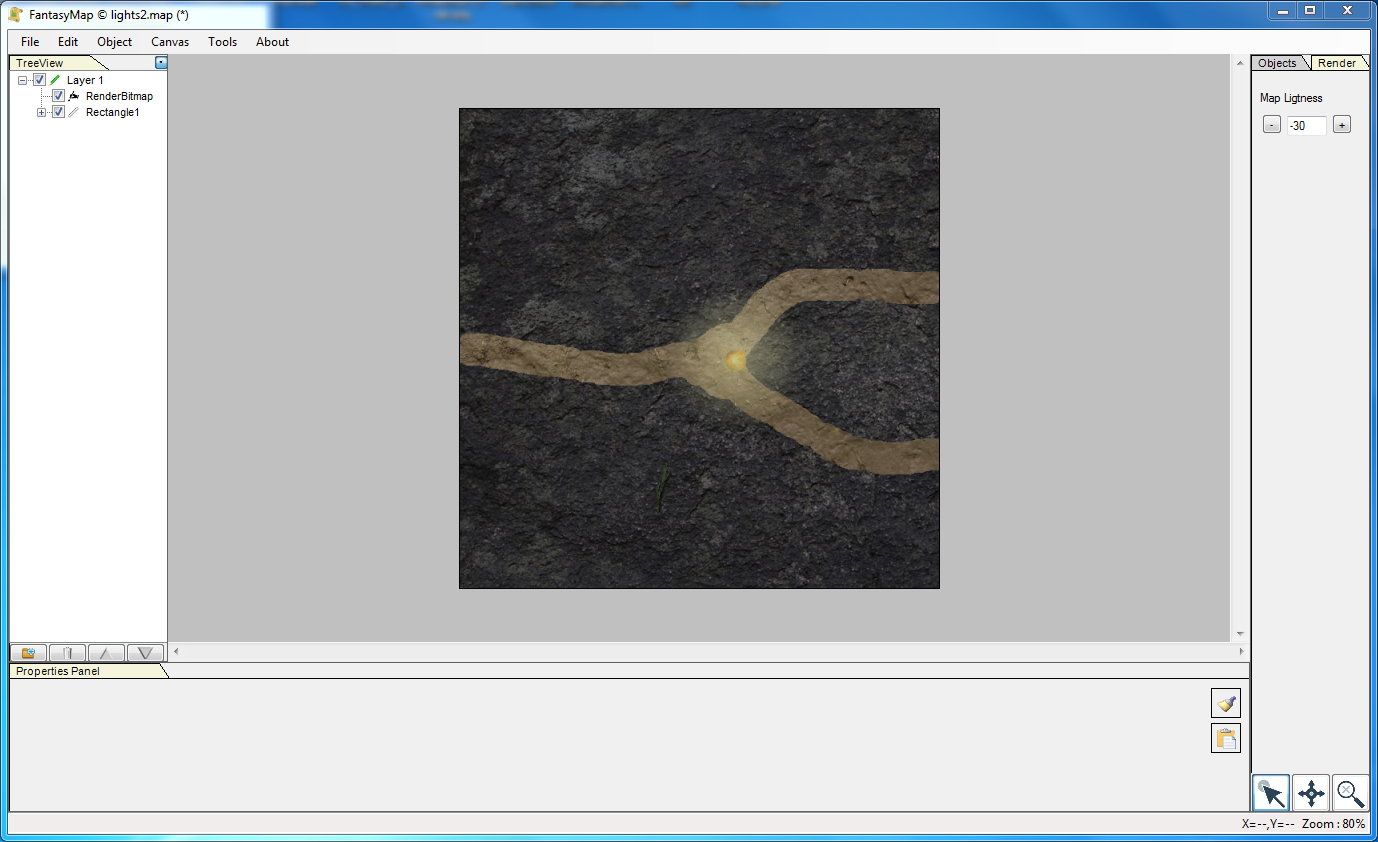
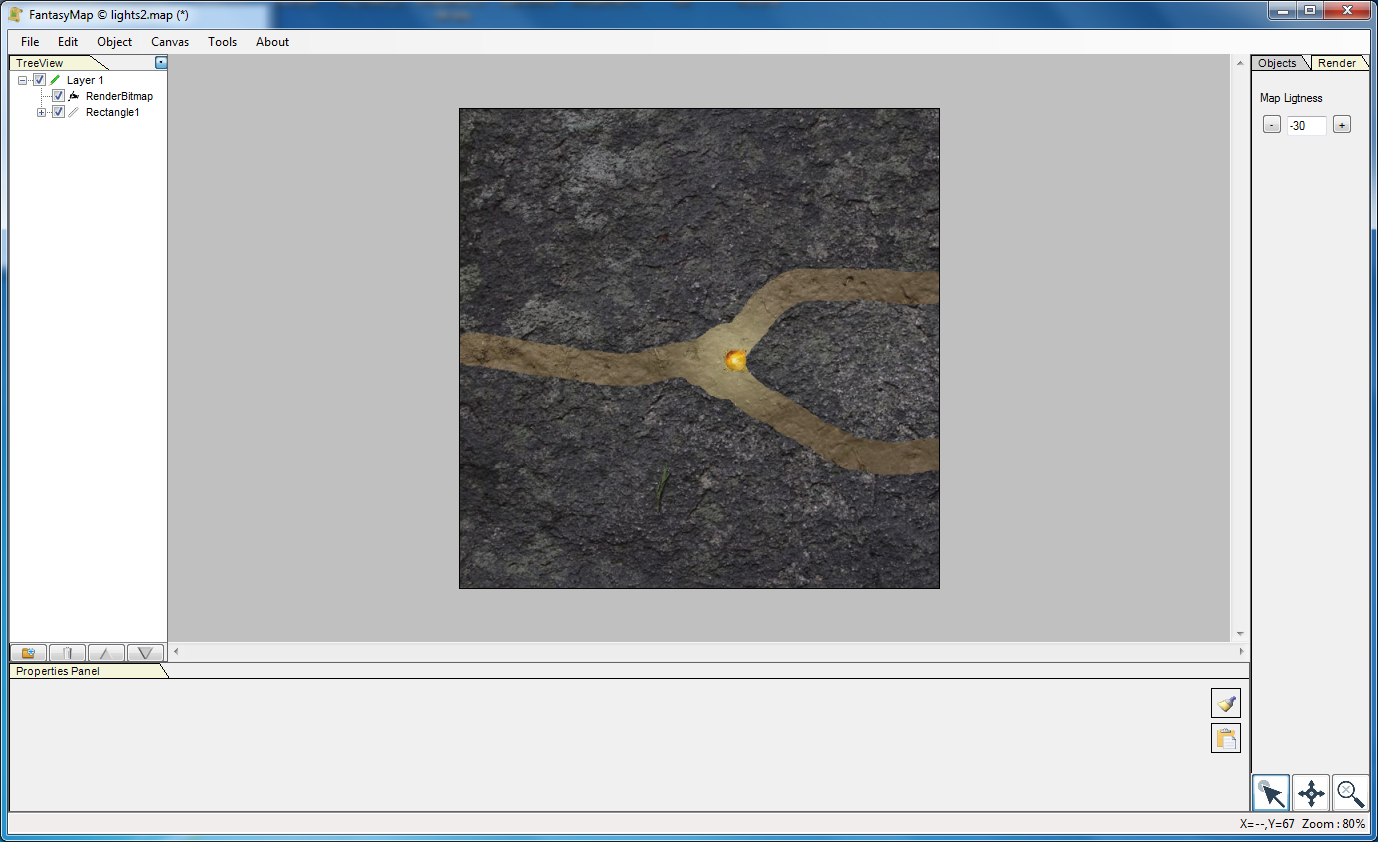
but you can define light immune objects. Such object will be not altered by lights effects. For example, consider a map like the one on the left. The map has a mud background, and we put over a render bitmap (we'll see in the next tutorials how render bitmaps works) to produce the rock walls around the corridor. At the Y junction we put the same bracer and, in the light mode, we inserted a circular light on it. As you can see, light has effect also on stone behind it. Go back to design mode. |
To avoid this, set the render bitmap and the bracer as Light Immune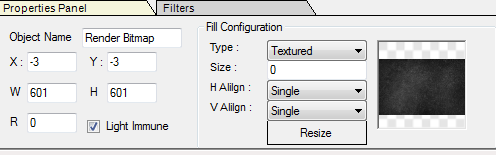 Then go back to render mode to see the result. The light you dropped in over the bracer now does not affect the mountain and the bracer it self. |
|