
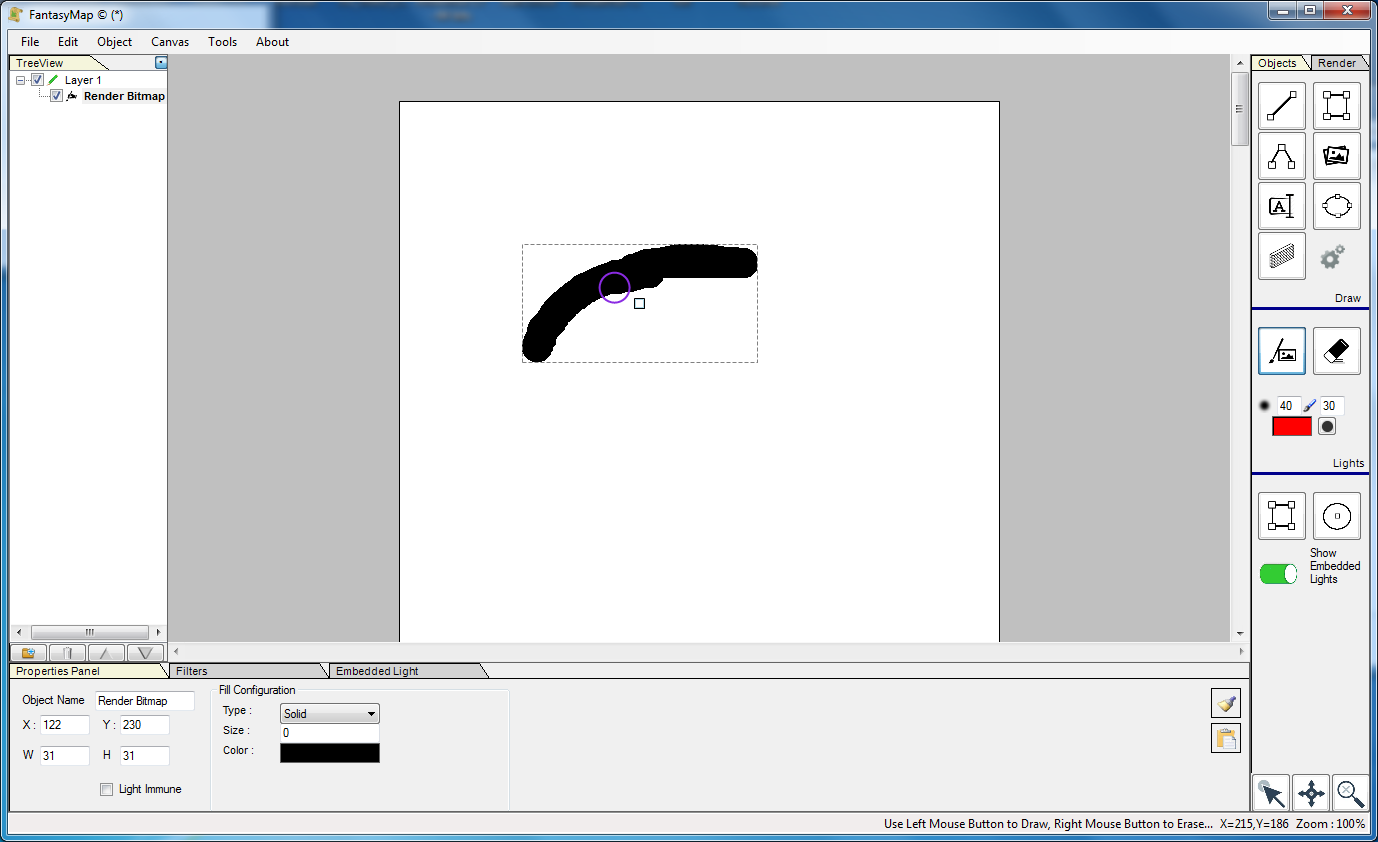
First of all, create a new map as seen on previous tutorials: Choose the render image tool and draw a shape on the map. Note: clicking with the right mouse button on it you can switch from paint render mode to the free paint mode. The free paint mode is just like painting a bitmap with every other paint software;  We will focus in this tutorial with the render paint function. |
|
|
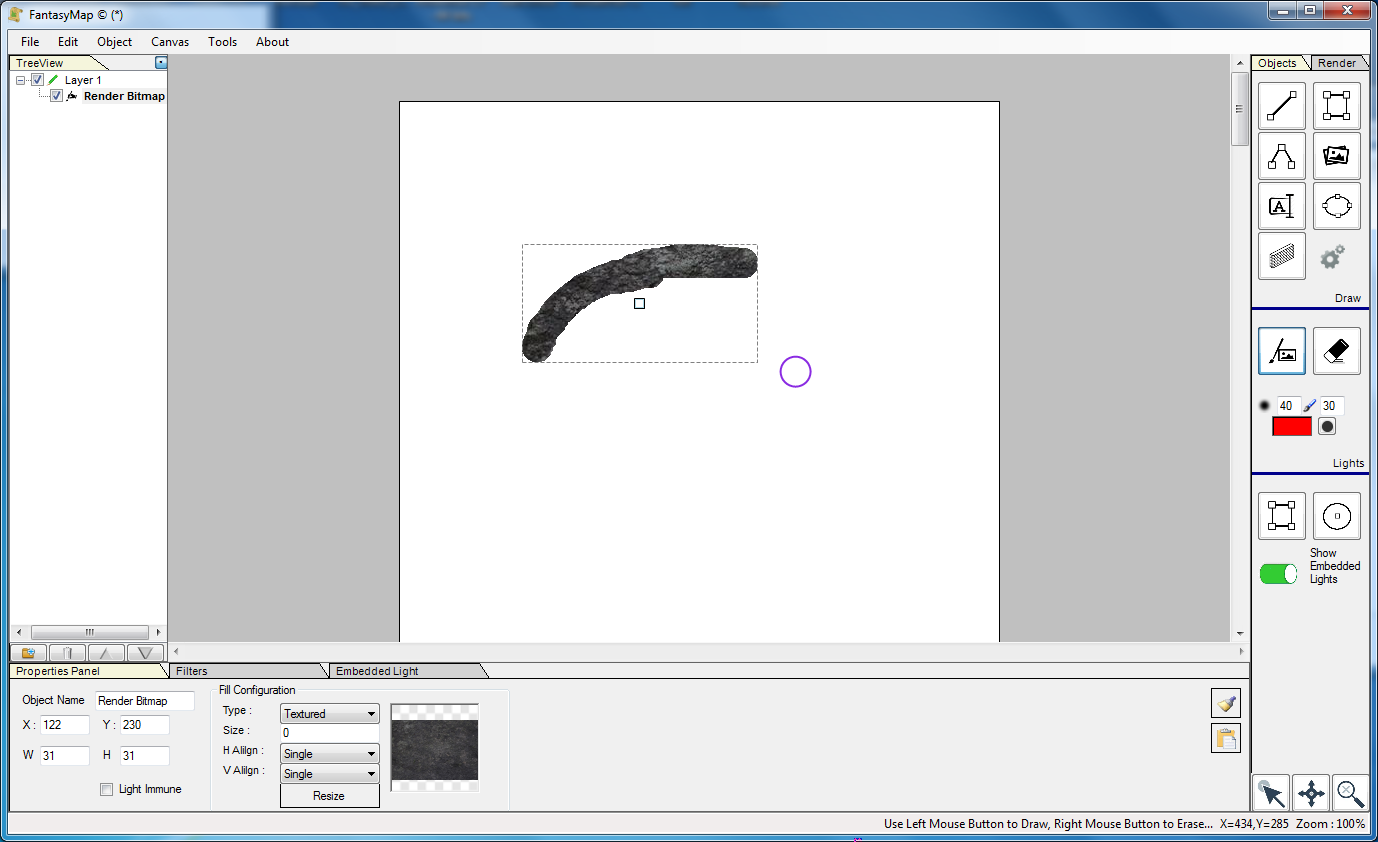
Keep the render bitmap object selected, and choose a render background like a black stone material. You'll notice that only the painted area will be rendered with the image you choose. For a better result, choose Tiled for both horizontal and vertical. |
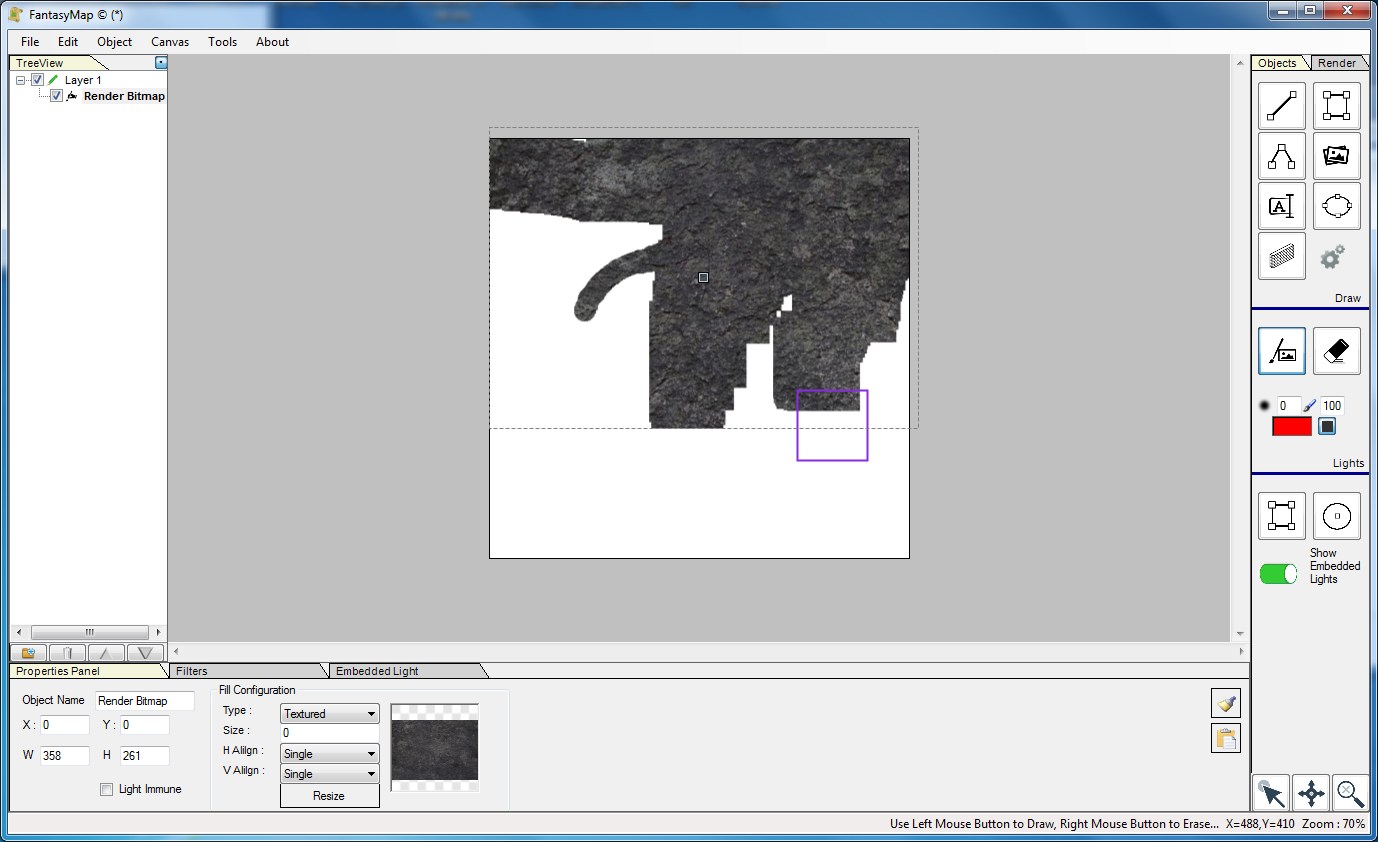
Select a square brush from the brush settings, and increase the size to 100px.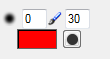 Now Paint all the map, covering all the white area with your dark rock. |
|
|
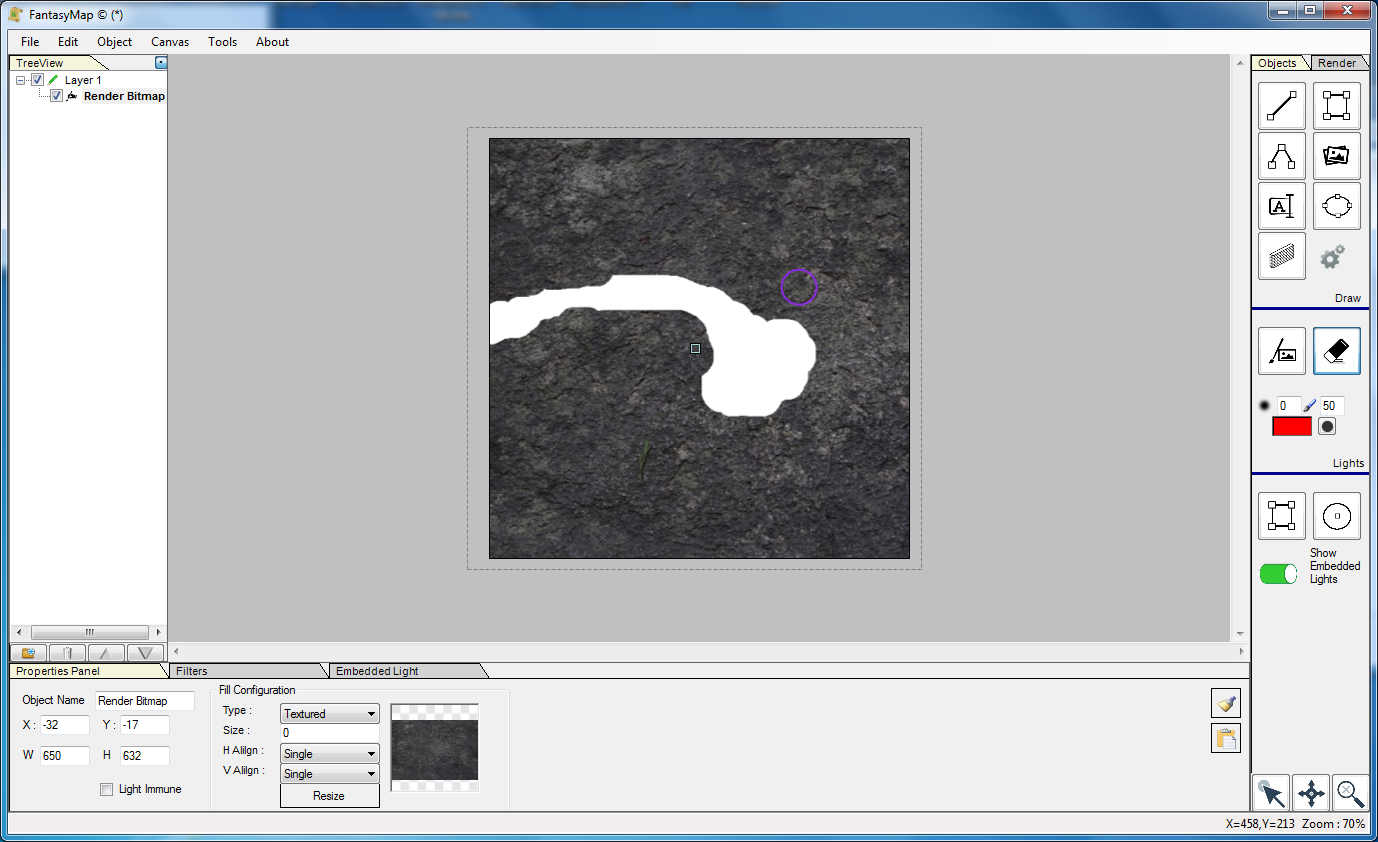
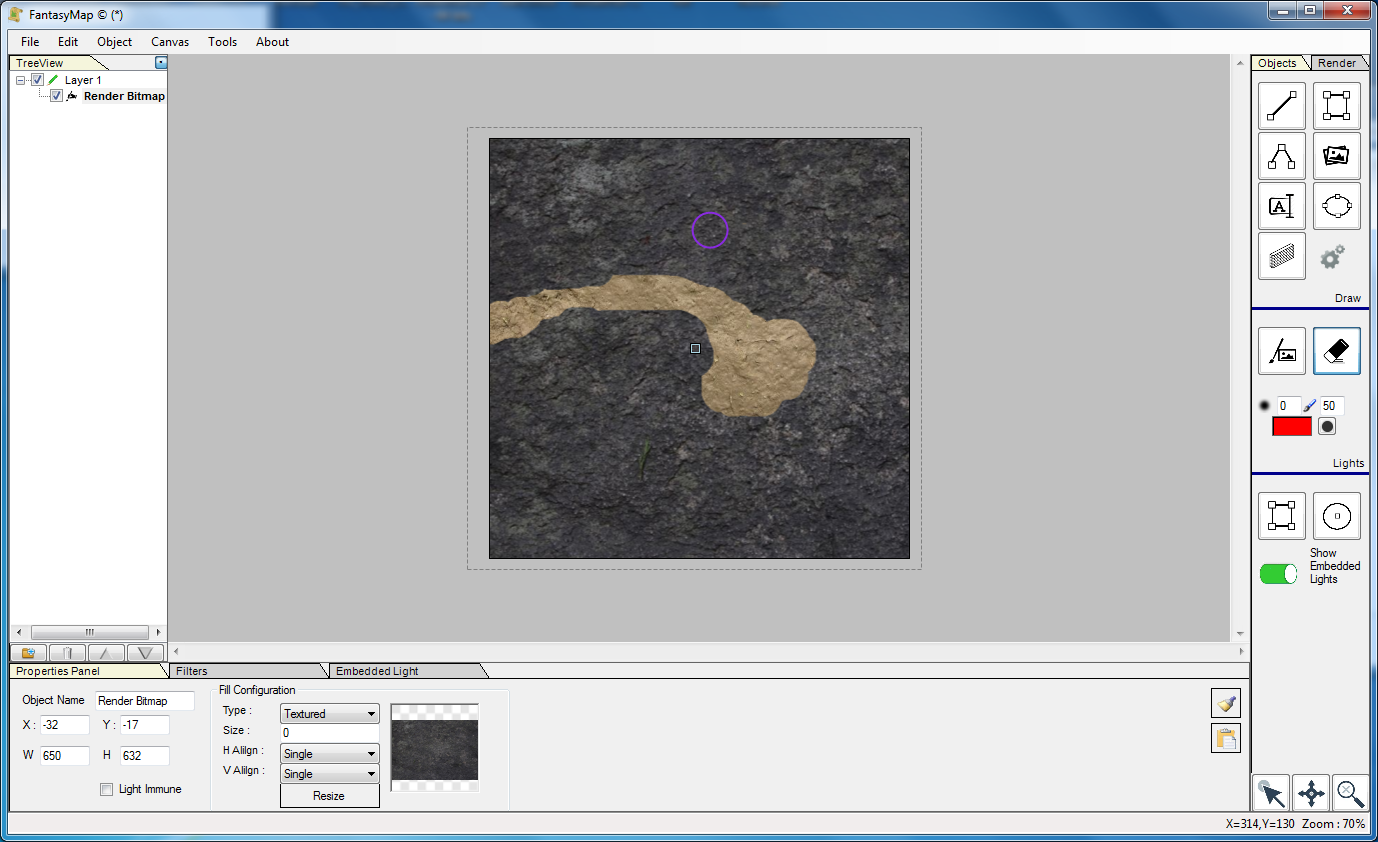
Now use the eraser tool to dig into your mountain a tunnel and a small cave. What? The background is still white? Change it in the background setting of your map! |
|
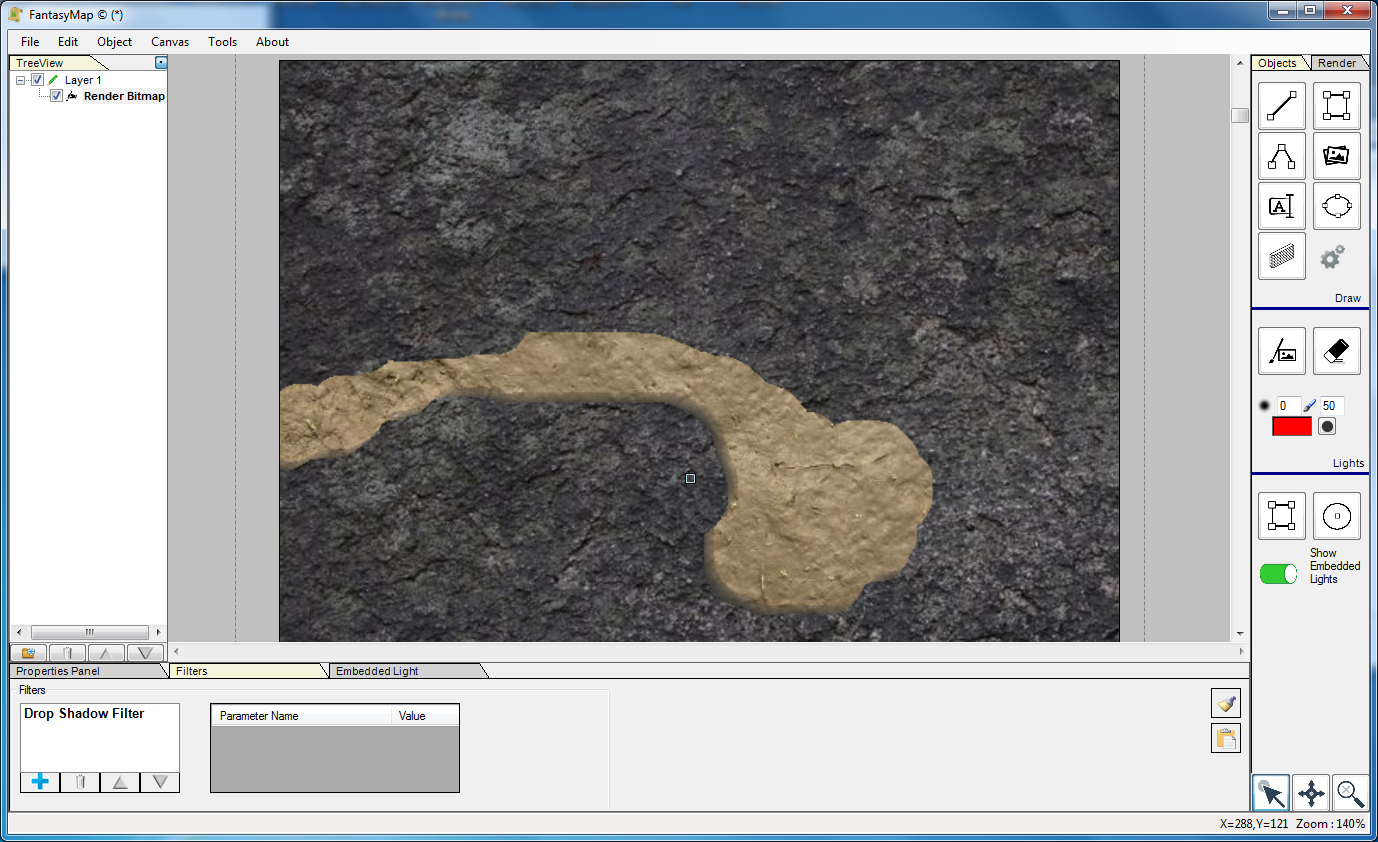
Now it is much more better. Something is still missing. Try to add a Drop shadow effect to the render bitmap... |
|
|
that's it! Change brush size in order to make bigger or smaller tunnels, blur a little corners deleting
the spikes, and you'll be able to draw a set of caverns in a few minutes. Sometimes filters can be a little slow to compute: while drawing tunnels you can temporarily deactivate them double-clicking on the filter name. |