In this tutorial we will explain how to use a cluster group to randomly dispose similar object into your map.
Cluster groups may be used for trees, stones or, without any random modification, for construction schemes (ex. pillars).
|
First of all, create a new map as seen on previous tutorials: put a grass texture on the background.
|
|
|
|
|
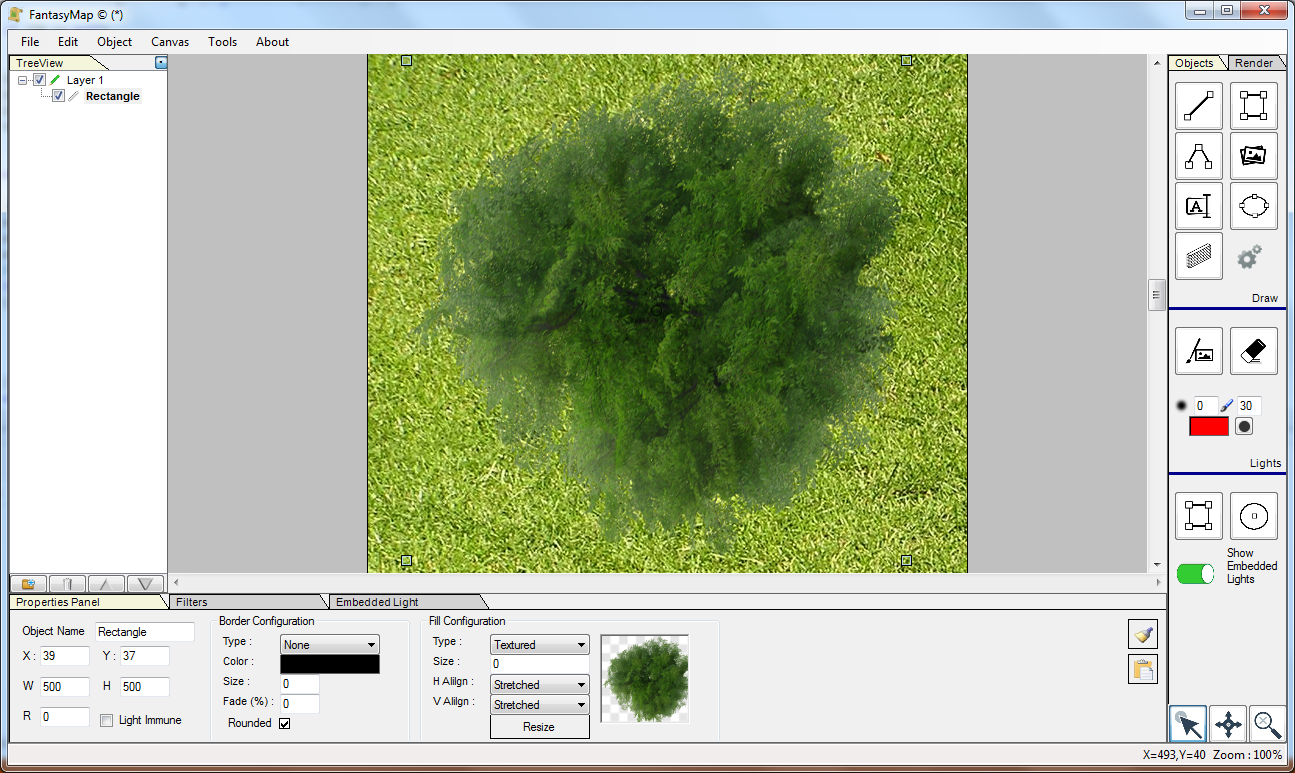
Insert your first tree. Resize if needed.
Eventually, click on the RESIZE Button under the texture
selection: this will actively resize texture bitmap to your current rectangle dimension, in order to save space
both during map developing and on your hard drive upon saving.
Remember that once resized, the bitmap cannot be enlarged anymore. If you will try to enlarge the rectangle, the
bitmap will appear very blurry and with poor quality.
|
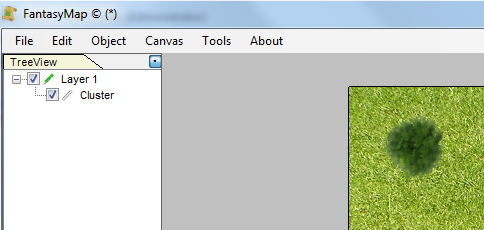
Once resized, go to the tree navigation panel, click with the right mouse button on the rectangle, and
select "Convert to Cluster" option from the context menu.
The object will change the name to "Cluster" and will become a cluster of 1x1 tree.
|
|
|
|
|
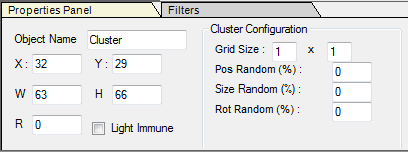
Select again the object and check on the properties panel below the cluster configuration.
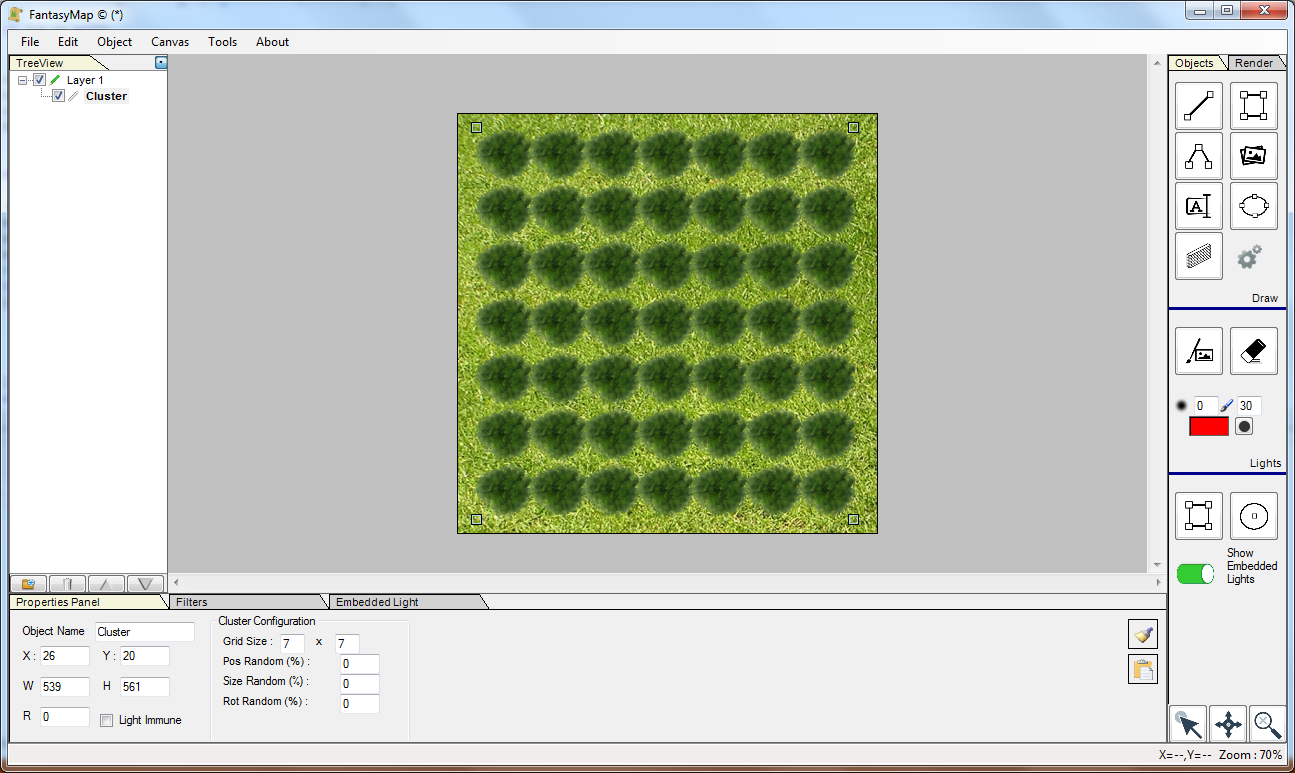
Expand the object covering all your green field: you'll see the tree positioning in the middle.
Increase the cluster matrix to 7x7.
|
|
Now you have a matrix of trees, all perfectly aligned each other.
|
|
|
|
|
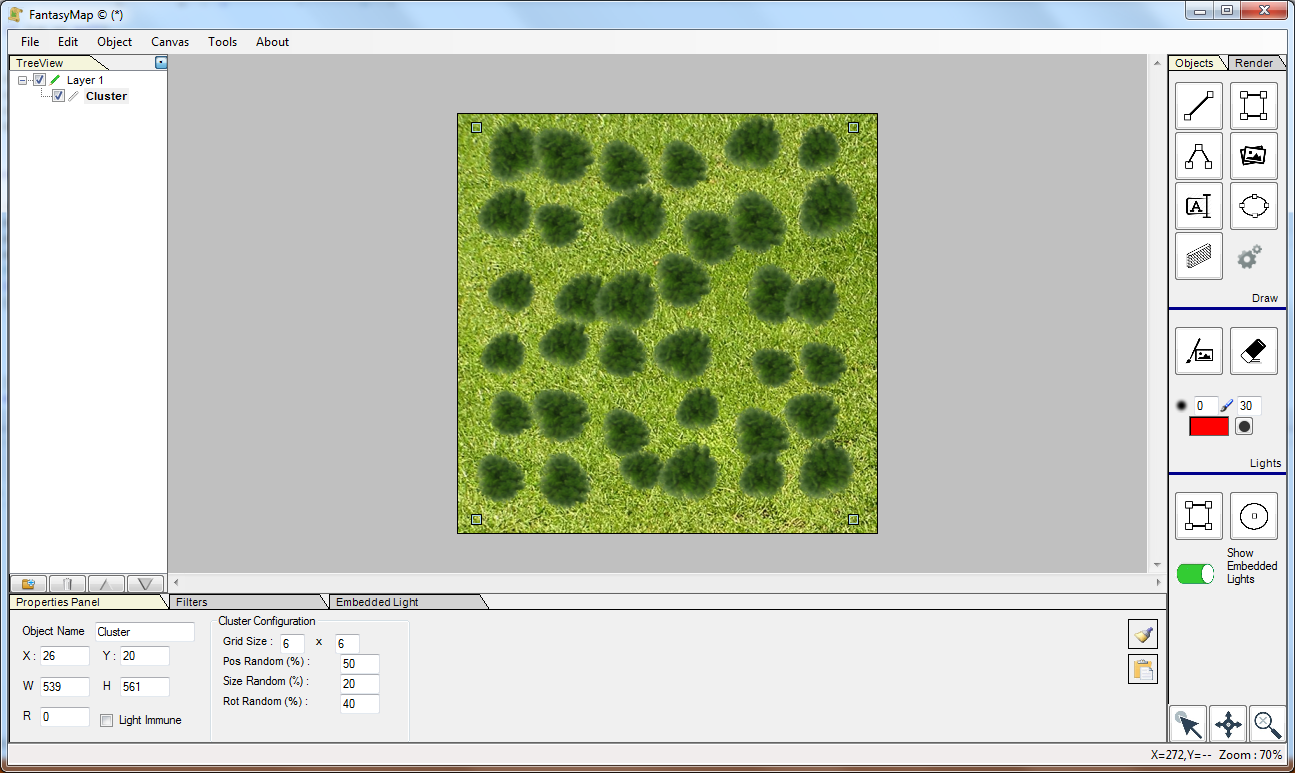
Because nature doesn't work like this, try increase the random percentage for
object scattering (position), size and rotation.
Clusters can be converted to normal object groups, but this is a one-way procedure.
Once converted, you cannot revert to the cluster, but you can explode the group and change
each element of the group. Maybe deleting the middle trees in order to produce an opening
in the forest...
|
